Asphalt Driveway Repair and Sealing: A Spring Guide for Indianapolis & Chicago Homeowners
Asphalt Driveway Repair and Sealing: A Spring Guide for Indianapolis & Chicago Homeowners
Asphalt looks like rock, but it's not. It's a petroleum product — crushed stone and sand held together by asphalt binder, a thick oil-based cement refined from crude oil. That distinction matters because asphalt doesn't fail the way concrete does. It fails like anything petroleum-based does: the oils oxidize and evaporate over time, the binder gets brittle, and then everything else goes wrong fast.
UV exposure is the quiet killer. Every summer, sunlight bakes the lighter oils out of your driveway's surface layer. The asphalt oxidizes, fades from black to gray, and loses the flexibility it was designed to have. Once that flexibility is gone, every freeze-thaw cycle — Indianapolis sees 20–35 per winter, Chicago can hit 40+ — opens cracks instead of flexing around them. Road salt migrates into surface pores and accelerates the oxidation. Oil drips from your car directly degrade the binder chemistry. By the time you're seeing significant cracking, the damage often started years earlier at the molecular level.
Here's the upside: that same chemistry that makes asphalt vulnerable also makes it repairable in ways concrete isn't. Surface-level damage is fixable with about $100 in materials and a free Saturday. A proper spring maintenance routine — crack repair followed by sealing — can extend a well-built driveway to 25–30 years. Let it go, and you're looking at professional repair costs of $800–$2,600+, or a full replacement at $5,000+.
Step 1: Walk Your Driveway and Know What You're Dealing With

Before you buy anything or call anyone, spend 10 minutes doing a proper inspection. Different damage types mean different fixes — and wildly different costs.
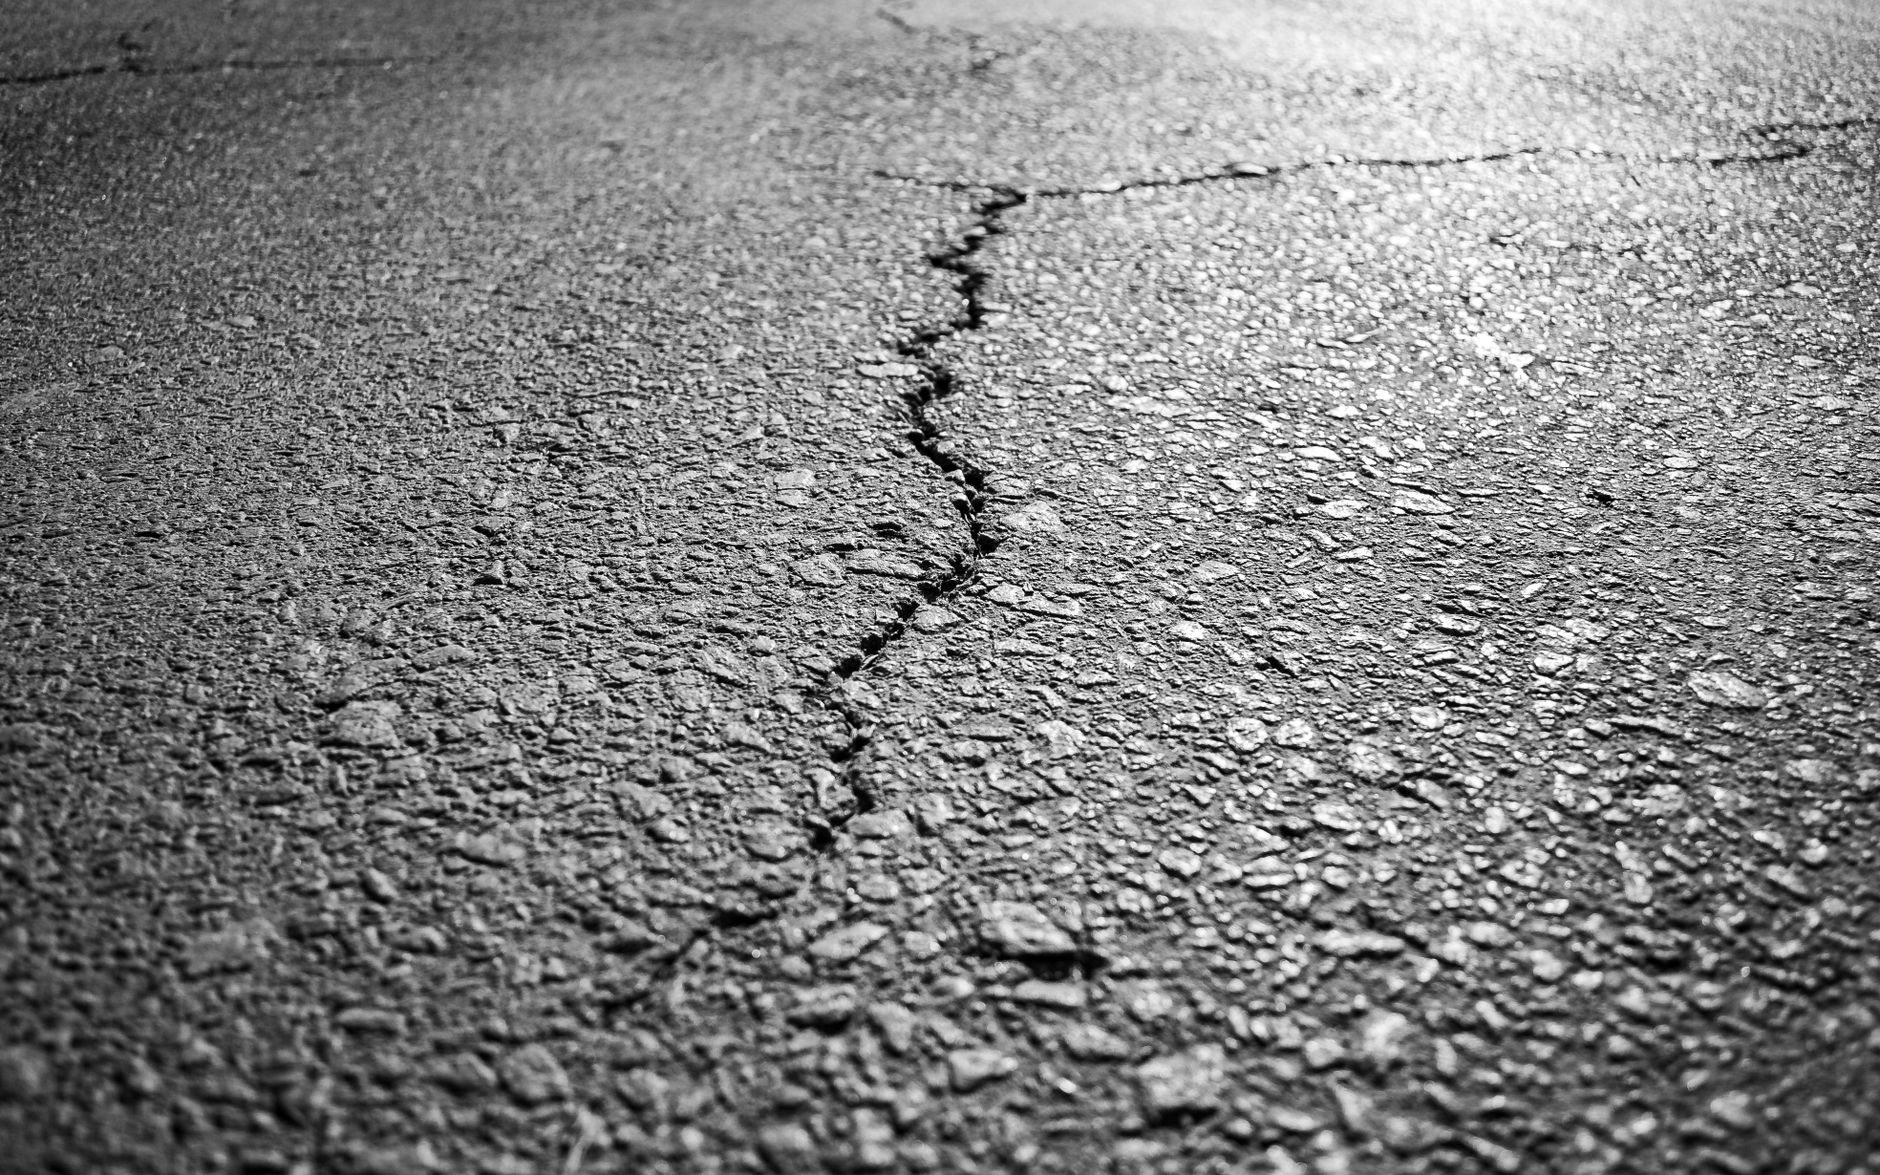
- Hairline cracks: Thin surface cracks, often just the early sign of oxidation. DIY-repairable, but don't ignore them — they let water in, and water accelerates everything.
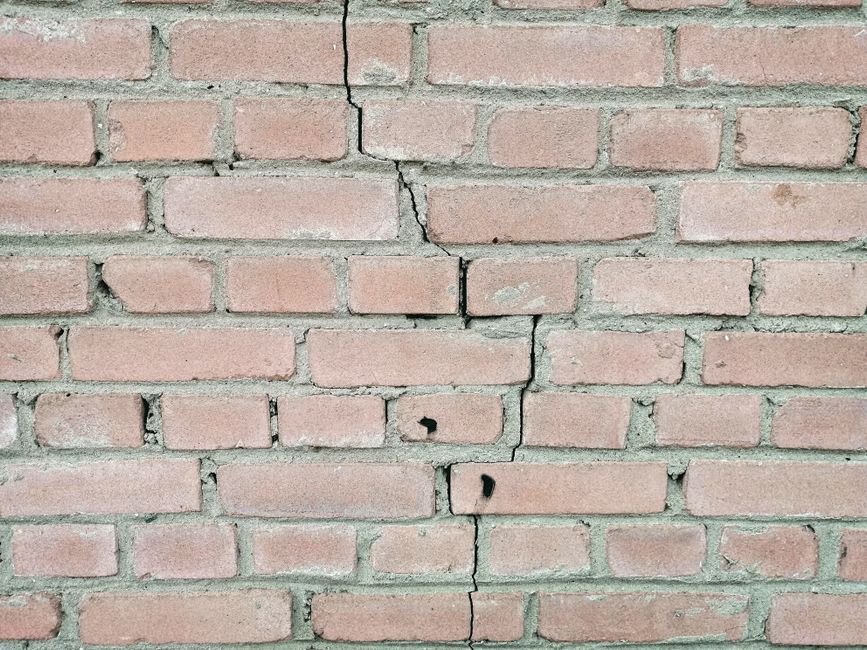
- Wide cracks (1/4" to 1/2"+): Water has been getting in for a while. Fill them this spring before another freeze cycle makes them worse.
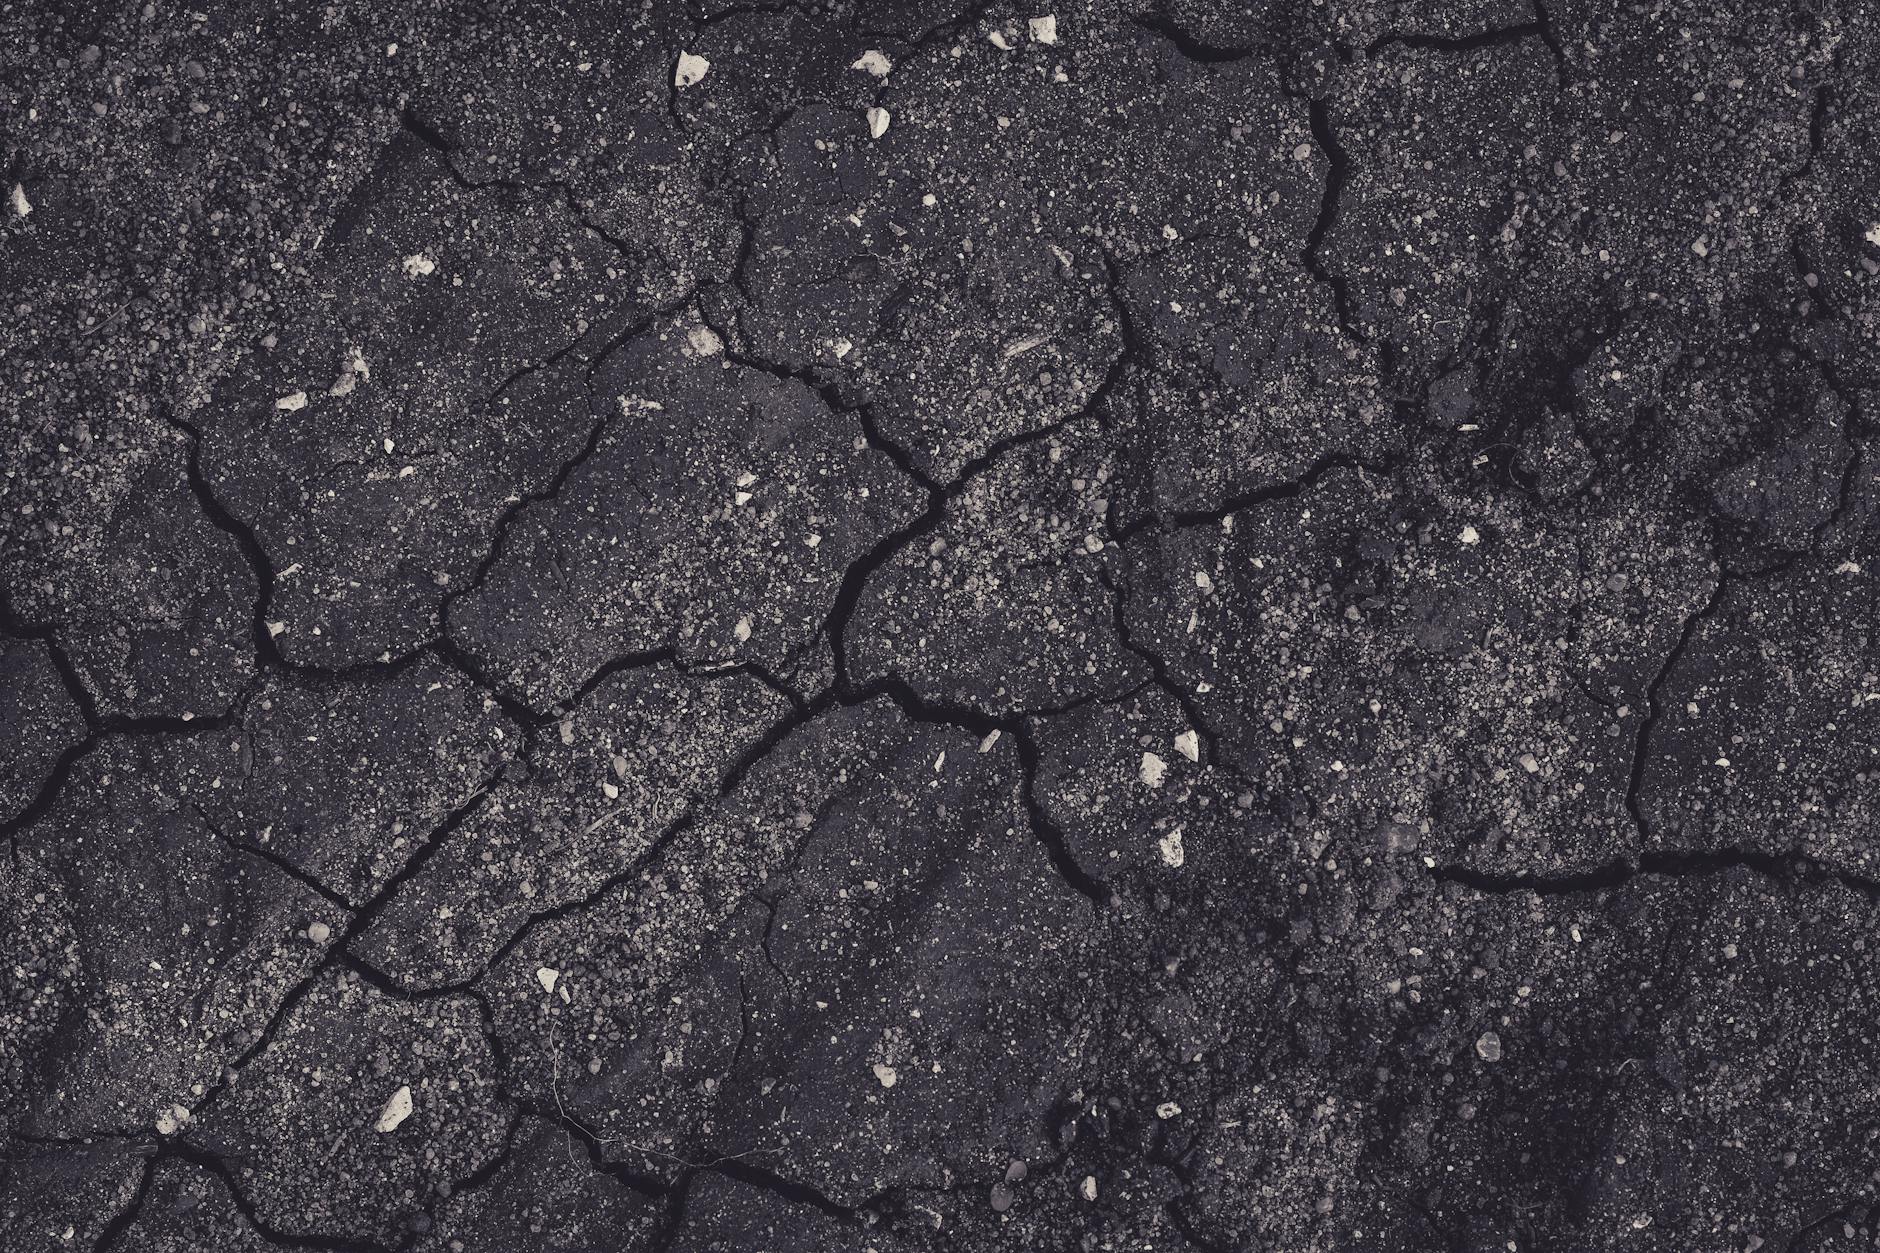
- Alligator cracking: A web of interconnected cracks that looks like reptile skin. This is a red flag — it usually means the compacted base layer beneath your asphalt is failing. Call a pro.
- Pitting and surface erosion: Small holes or rough, pocked texture. Often caused by motor oil spills, freeze-thaw, or salt brine. Treatable with DIY trowel patch if pits are less than 1/2" deep.
- Potholes: If you've got a pothole, your driveway needs professional attention. Potholes mean base failure.
- Sinking or settling: Any section that's visibly lower than the rest — especially near the garage or along edges — points to foundation or drainage problems. Pro job.
- Faded, gray color: Healthy asphalt is dark black. A gray, faded surface means UV oxidation has dried out the binders. Still structurally sound, but this is the right time to seal before it goes further.
The rule of thumb: Surface-level cracks and pitting? That's weekend warrior territory. Potholes, sinking, alligator cracking, or anything structural? Don't throw money at a DIY fix — get a pro estimate.
Step 2: Repair Cracks First — Then Seal

Here's where a lot of homeowners go wrong: they buy a bucket of sealer, slap it on the driveway, and call it done. Problem is, sealer doesn't fill cracks. It's a surface coating, not a structural repair. If you seal over cracks, water will still get in at the edges, the sealer will crack through, and you'll be doing it all over again next year.
Fix cracks first. Then seal.
The Best DIY Crack Repair Method: Melt-In Rope Filler
Forget the squeeze-bottle fillers from the hardware store. They shrink, crack, and fail within a season. The method that actually works — the same type highway crews use — is melt-in rope filler (look for products like Latex-ite Pli-Stix) combined with a trowelable cover mix. Budget about $100 total for a typical driveway.
Here's the process:
- Wait for dry weather. You need at least 24 hours with no rain in the forecast. Don't rush this.
- Prep the crack. Scrape out any old filler, dirt, weeds, and loose debris with a flat screwdriver or 5-in-1 tool.
- Widen hairline cracks. This sounds backwards, but hairline cracks won't hold filler unless you open them up a bit. Use an angle grinder with a diamond wheel to widen them to about 1/4".
- Blow it clean. Leaf blower or compressed air. Get every bit of dust and debris out — filler won't bond to a dirty crack.
- Pack in the rope filler. Press the rope deep into the crack. Leave it sitting about 1/16" below the surface — don't overfill.
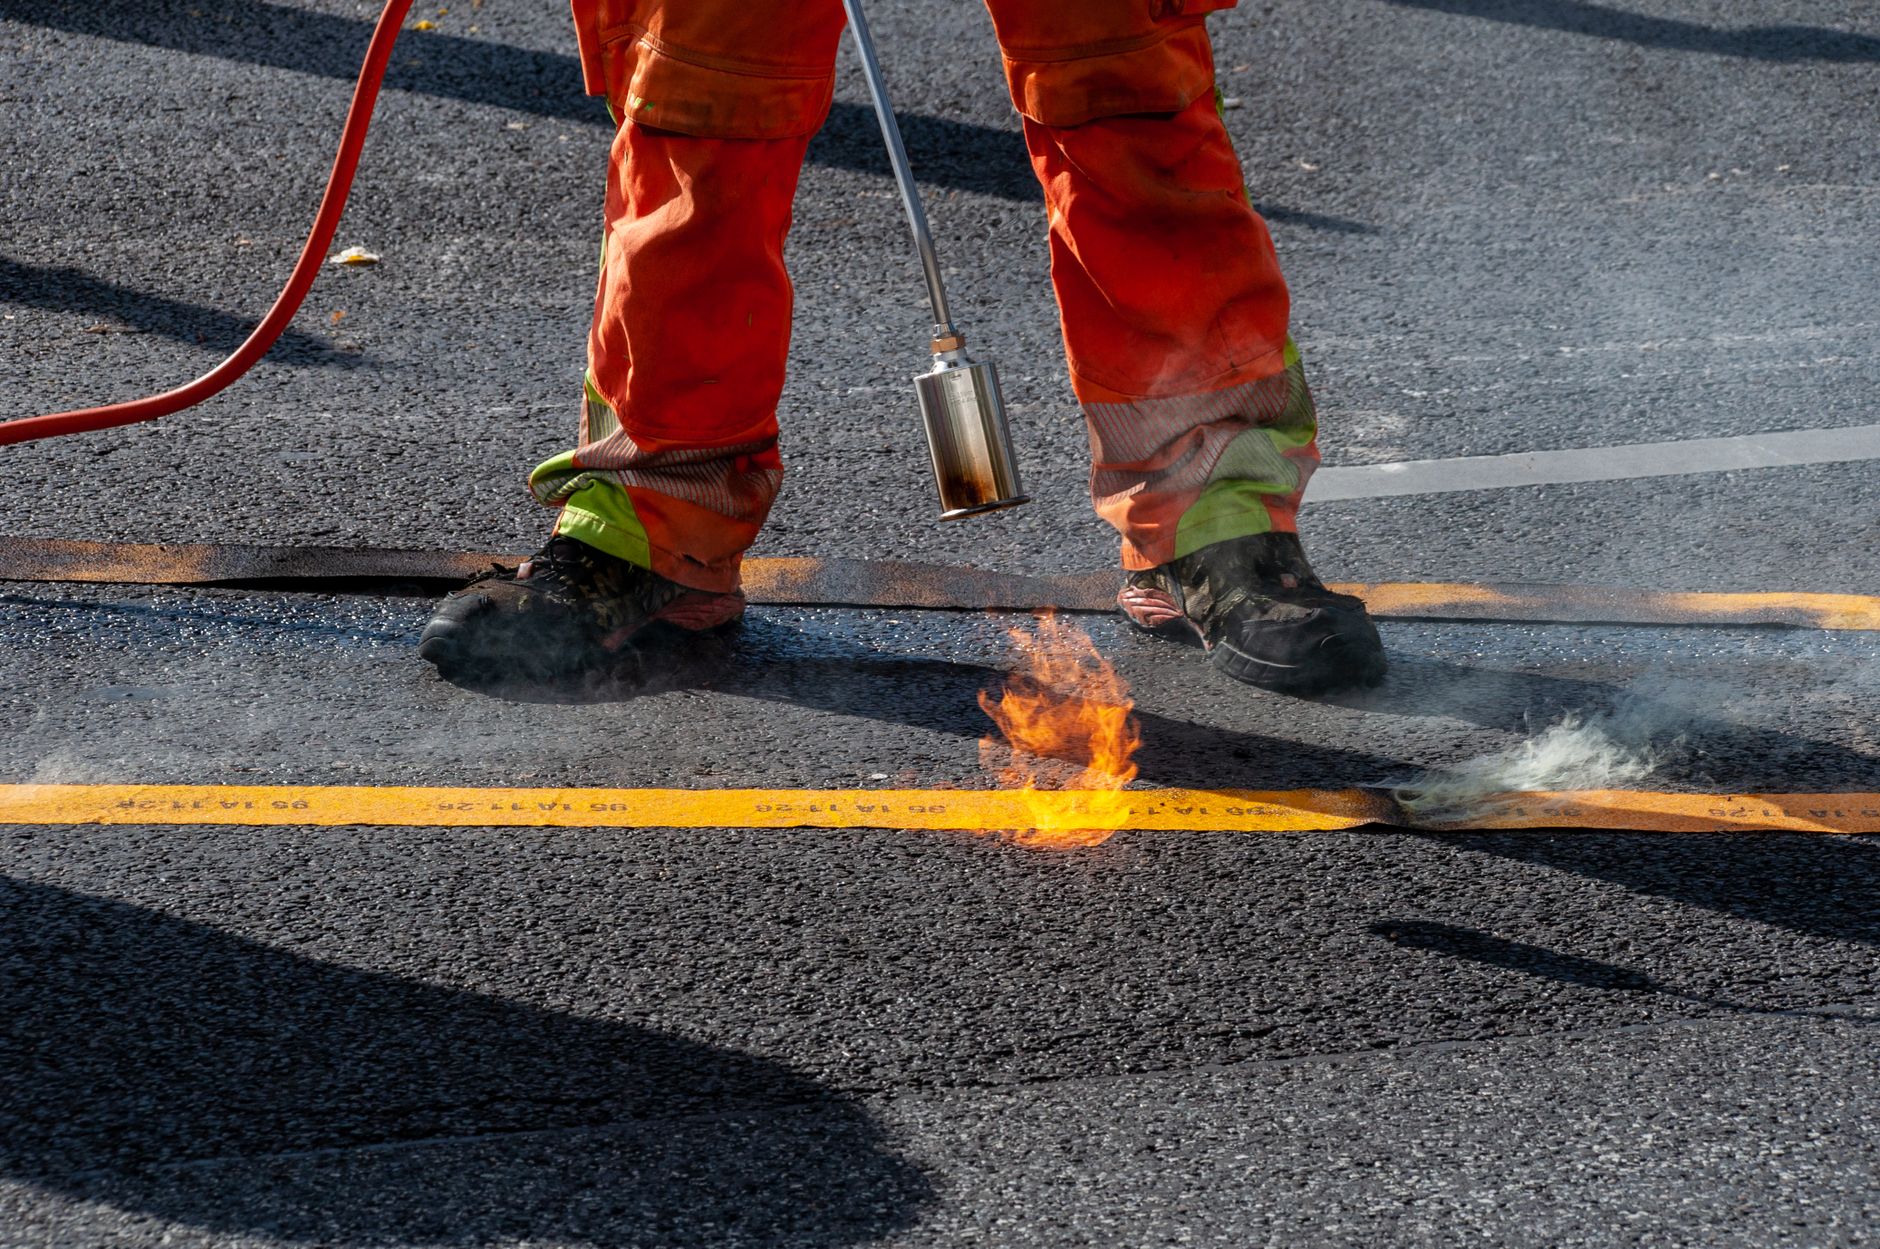
- Melt the filler. Use a propane torch with an extension hose. Sweep slowly side to side, working in 12-inch sections. You want the filler to flow and bond, not burn.
- Apply trowel patch over top. Once the filler cools (about 20 minutes), spread a layer of trowelable cover mix over it and smooth it flush. Let it dry overnight.
- Check the next day. If there's a depression, apply a second coat and let it dry again.
For surface pitting (not deep cracks — just rough, pocked texture): clean any oil stains first with an oil-spot primer, then fill with trowelable patch mix. Two coats if needed.
Plan for a full day if you've got several cracks to address. This isn't a 20-minute job — but it's not complicated either.
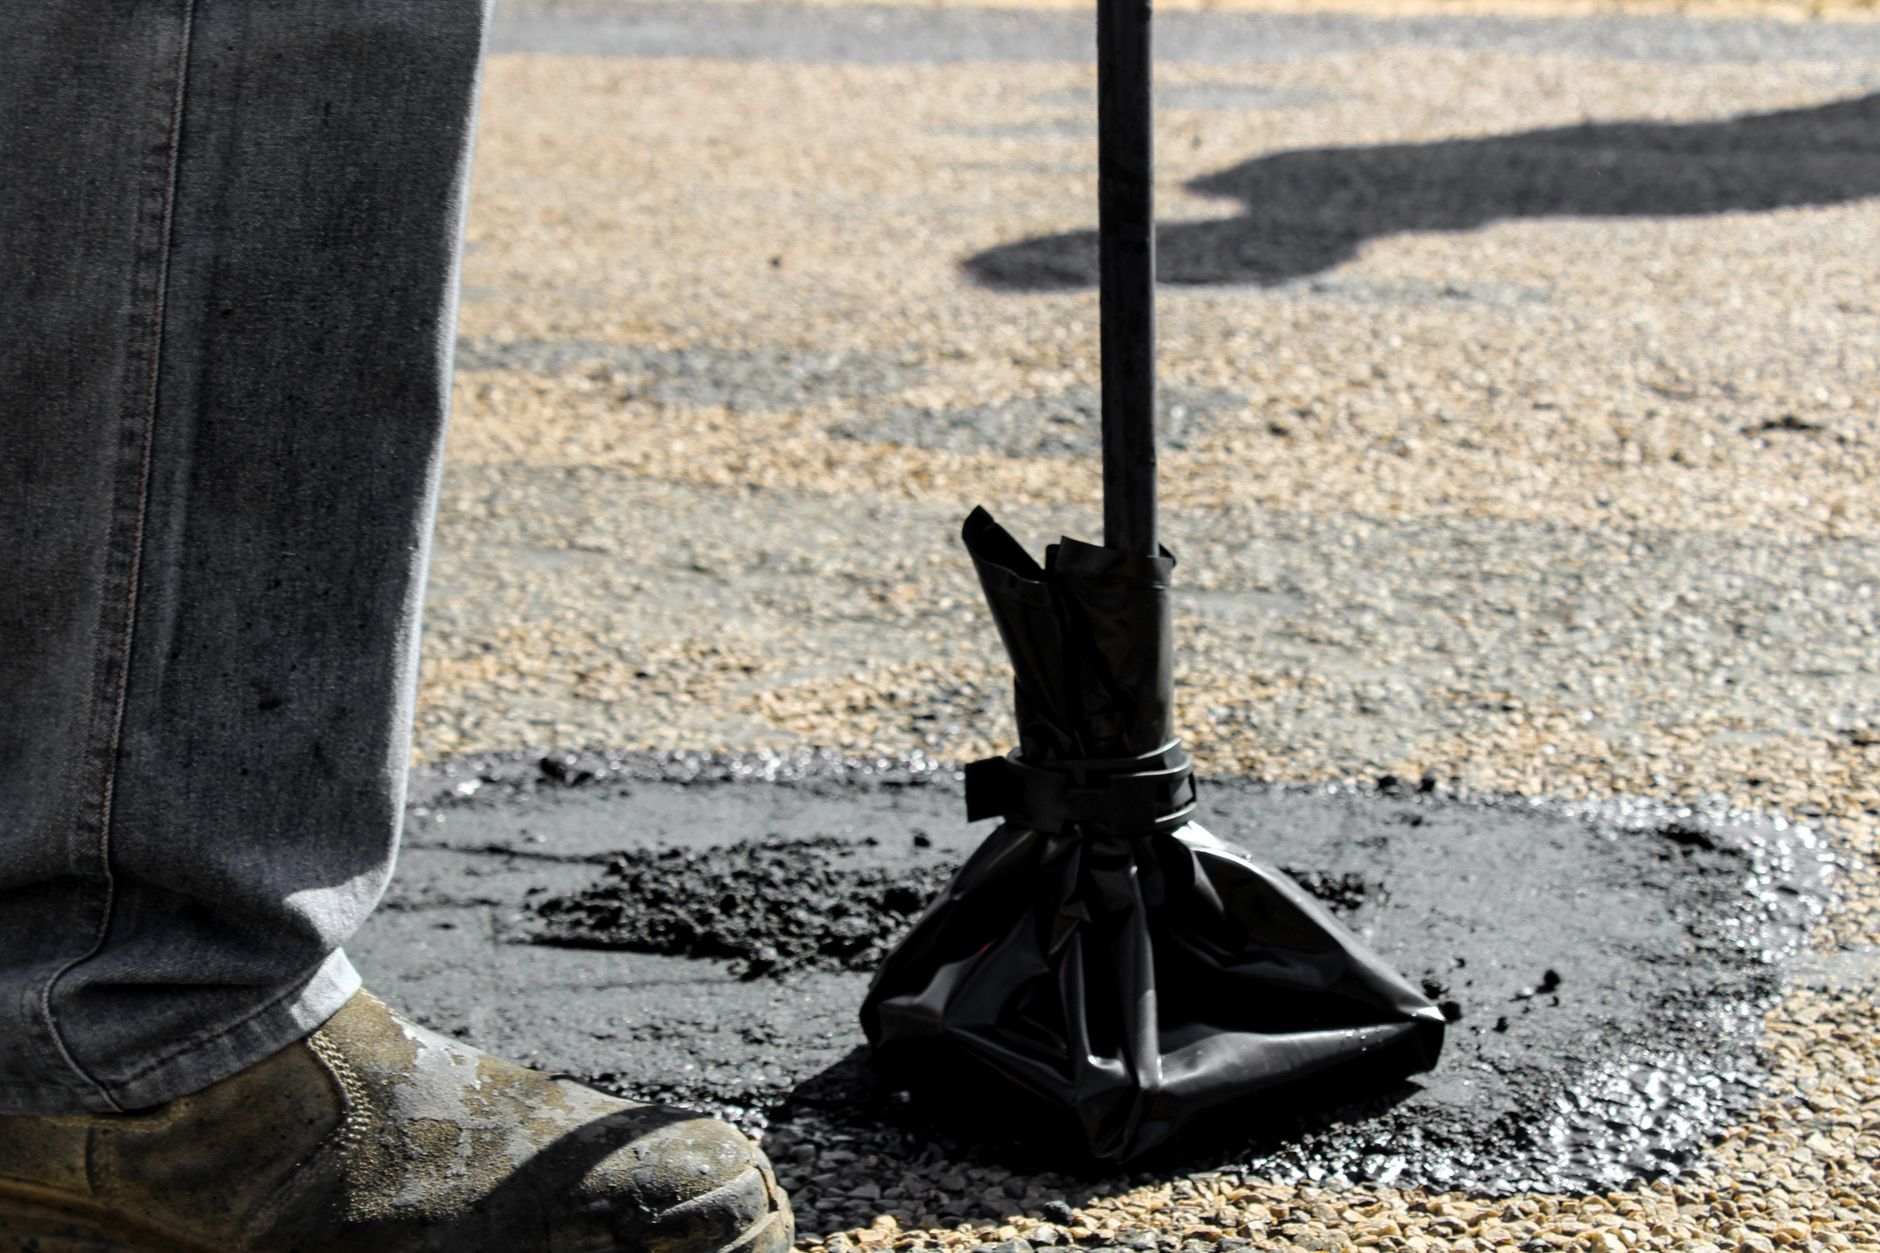
Step 3: Seal the Driveway — But Time It Right
Once your cracks are filled and fully cured, it's time to seal. A properly maintained asphalt driveway — repaired and sealed on a regular schedule — can last up to 30 years. The right rhythm is every 3–5 years, when you start to see the surface going gray and the aggregate (small stones) becoming visible. More often than that and you're building up too many coats, which eventually flake off.
Timing Is Everything in the Midwest
Sealer needs two things to cure properly: dry weather and temperatures above 50°F — both during application and through the night. In Indy and Chicago, that limits your window more than people think.
- Indianapolis: Average last freeze is around April 22–26 (NOAA 1991–2020 normals). Safe sealing window typically opens late April.
- Chicago: Average last freeze is around April 17. Plan on early-to-mid May before you start.
- Both cities: May is the sweet spot — stable temps, lower precipitation risk, before the brutal summer heat that makes sealer dry too fast and prevents proper penetration.
Don't rush it. If you seal too early and get a frost overnight, you've wasted a weekend and $100 in materials.
DIY Sealing Step-by-Step
- Clean the entire driveway. Power wash with driveway cleaner/degreaser and scrub with a stiff broom. This is the most important step — sealer won't bond to a dirty or greasy surface.
- Rinse and let it dry completely. No puddles, no damp spots.
- Pre-treat oil stains. Apply oil-spot primer to any stains. Heavy stains need two coats. Let it dry fully.
- Mix the sealer properly. Use a drill with a mixing paddle — not a stir stick. The solids settle to the bottom and need to be fully incorporated. Mix for several minutes, moving the paddle up and down.
- Cut in the edges first. Use a large dashing brush along all four edges of the driveway.
- Stage your pails. Space multiple buckets down the driveway so you're not walking back and forth through wet sealer.
- Apply the first coat. Use a squeegee or brush — check the manufacturer's recommendation and stick to it. Wrong applicator = premature failure.
- Wait at least 8 hours. Then apply the second coat. Most manufacturers recommend two coats. If you have a long driveway or park heavy vehicles, definitely don't skip the second coat.
- Stay off it for 24–48 hours. Full cure before any vehicles.
Choosing the Right Sealer
Not all sealers are equal. Bargain products can be up to 50% water — they'll look fine for a season but won't protect much. For Midwest driveways, look for a UV-resistant, weather-resistant asphalt emulsion sealer with elastomeric filler for freeze-thaw protection. Quality asphalt emulsion runs $0.10–$0.20 per sq ft; higher-end synthetic options go up to $0.50/sq ft and offer better longevity. A 500 sq ft driveway (standard 2-car) needs about 5 gallons — budget $30–$100 in sealer, plus cleaning supplies.
What Does It Actually Cost? DIY vs. Pro Breakdown

Here's the honest numbers:
Driveway Sealing
- DIY materials only: ~$100 (saves roughly $200 in labor)
- Professional average: $545 nationally; typical range $275–$820
- Professional per sq ft: $1.25–$1.50 (labor + materials)
- 500 sq ft driveway (pro): roughly $625–$750
Crack Repair
- DIY materials (rope filler + trowel patch): ~$100
- Professional average: $2,465 nationally; range $1,071–$4,020
- Tree root removal (if involved): $1,300–$1,600 on top of repair
Full Replacement
- New asphalt driveway: ~$5,265 on average
The math on DIY is compelling for straightforward crack repair and sealing. For structural damage, the gap between a $1,500 pro repair and a $5,000 replacement makes professional repair worth every penny — but only if you catch it before the base layer is fully gone.
When to Skip the DIY and Call a Pro
With asphalt, the surface is the last thing to fail. By the time you're seeing certain damage patterns, there's already a story happening underneath. Learning to read those signals is the difference between a $500 repair and a $5,000 replacement.
Base Failure Signals — Always Call a Pro
- Alligator cracking — that interconnected web pattern isn't a cosmetic problem. It means the compacted gravel base beneath your asphalt has failed, usually from water infiltration over time. The fix is a full-depth repair: mill out the damaged section, rebuild the base, repave. Filling alligator cracks is money wasted.
- Potholes of any size — potholes form when water gets beneath the surface, freezes, lifts the asphalt, and traffic breaks it through. By the time you see a pothole, the base is already compromised. Patching yourself is a temporary band-aid.
- Sinking or heaving sections — if part of your driveway has dropped more than an inch, or lifted, you've got a drainage or subbase problem. These don't fix themselves and get worse every winter.
- Water pooling on the surface after rain — asphalt should sheet water toward the edges. Standing water means the grade has shifted, usually from underlying settling.
Surface Issues Still Worth a Pro Quote
- Multiple large cracks (wider than 1/2") that have already been filled once without holding
- A driveway that hasn't been sealed in 10+ years — specialty primer and prep that most homeowners can't replicate with consumer-grade products
- Tree roots lifting sections of the driveway
Getting good quotes in Indianapolis or Chicago: Get at least 3 estimates. Ask specifically about prep process — a pro who wants to seal without repairing cracks first is cutting corners. Ask what type of sealant they use, how many coats, and whether they'll edge-trim before sealing. Be skeptical of very low quotes — budget sealers can be 50%+ water and fail within a season.
Your Annual Driveway Maintenance Calendar
Staying ahead of asphalt damage is dramatically cheaper than catching up to it. Here's a simple schedule:
- Every spring (April–May): Walk and inspect after winter. Fill any new cracks. Clean the surface before temps get too hot.
- Every 3–5 years (when asphalt looks gray/faded): Full sealing job. Don't wait until it looks bad — by then, the oxidation damage has a head start.
- Every fall (October): Fill any cracks that opened during summer heat before freeze season starts. An empty crack in November becomes a big crack in March.
- Year-round: Clean up oil spills immediately. Motor oil directly degrades asphalt binder — it's not just a stain, it's structural damage.
The investment is small. A $100 annual crack fill and a $100–$750 seal every few years can add decades to a driveway that would otherwise need $5,000 in replacement work.
FAQ: Asphalt Driveway Repair & Sealing

- How often should I seal my driveway?
- Every 3–5 years is the right frequency for most Midwest driveways. The visual cue: when the driveway starts looking gray and you can see the aggregate (small stones) in the surface. Sealing too often — every year — causes problems because the coats build up and eventually flake off as a layer.
- Can I seal a driveway that has cracks in it?
- Not properly. Sealer is a surface coating — it won't bridge or fill cracks. If you seal over cracks, water still gets in at the edges, the sealer cracks through, and you'll be back to square one next year. Always repair cracks first, wait for them to cure, then seal.
- What's the cheapest way to fix driveway cracks?
- Melt-in rope filler (like Latex-ite Pli-Stix) combined with a trowelable cover mix — about $100 in materials for most driveways. Avoid the cheap squeeze-bottle fillers; they shrink and fail within a season. The rope filler method is what highway crews use because it actually bonds and lasts.
- When is the right time to seal a driveway in Indianapolis or Chicago?
- You need temps above 50°F during application and through the night, plus at least 2 dry days. For Indianapolis, that window typically opens in late April. Chicago homeowners should wait until early-to-mid May. The sweet spot for both cities is May through early June — before extreme summer heat sets in and causes sealer to flash-dry before it penetrates properly.
- How do I know if my driveway needs repair or full replacement?
- Surface cracks, pitting, and gray fading = repair and seal. Alligator cracking (a web pattern across large sections), potholes, sinking, or heaving sections = get a professional assessment. Full replacement becomes the right call when the base layer has failed across most of the driveway. A reputable contractor will tell you honestly which it is — if three different pros all say replace, believe them.
- Does road salt damage asphalt?
- Yes. Indianapolis and Chicago both use road salt and brine heavily, and that brine migrates into unsealed asphalt pores and accelerates oxidation of the binder. A sealed driveway is significantly more resistant to salt damage — which is one more reason the seal-every-3-to-5-years rule matters more in the Midwest than in warmer climates.
Don't Let Winter Win Two Years in a Row
Your driveway just survived another Midwest winter. The oxidation clock is ticking whether the cracks are visible yet or not. Spring gives you a window to stop that clock — repair what's cracked, seal what's fading, and buy yourself another several years before anything structural becomes a question.
The plan: inspect now, repair cracks before May, seal once temps are consistently above 50°F overnight. Do it yourself for around $100–$200. Or hire a pro and expect to pay $500–$2,600 depending on the damage — still a fraction of what you'd spend on replacement.
Either way, don't wait. Another season on a cracked, unsealed driveway accelerates the oxidation and base damage faster than most homeowners realize. The best time to fix it was last fall. The second best time is right now.
Need a local driveway contractor in Indianapolis or Chicago? Find a vetted local contractor on Saorr — get quotes, check reviews, and book before the spring rush fills their calendars.
Find Trusted Pros Near You
Ready to start your project? Connect with vetted, top-rated contractors in your area.
Get Started