What's Hiding Under Your House? The 2026 Guide to Crawl Space Encapsulation in Indianapolis & Chicago
It's March. You pull back that little access panel on the side of your house or in the back of a closet, stick your head in, and it hits you like a wall. Wet dog. Mushrooms. Something earthy and wrong that you can't quite name. You slam the cover back and pretend it didn't happen.
Here's the thing — it happened. And that smell isn't just unpleasant. It's a warning.
Indianapolis averages 84% relative humidity in the morning hours. Chicago runs at 80% morning humidity. Both cities spend significant chunks of the year well above the 60% EPA mold threshold — the point at which mold can begin to grow. You don't need a calculator for that math. And here's the part that should really get your attention: building scientists estimate that up to 50% of the air you breathe inside your home can come directly from your crawl space. That's called the stack effect — warm air rises and escapes out the top of your house, and your home pulls replacement air from the lowest point it can find. Which is down there. Where it smells like a wet dog mixed with a mushroom farm.
If your crawl space has a moisture problem, you have a whole-house moisture problem. Full stop.
Crawl space encapsulation is the fix. This guide will tell you exactly what it is, what it costs in Indianapolis and Chicago, when to do it, and how to hire someone who won't take you for a ride.
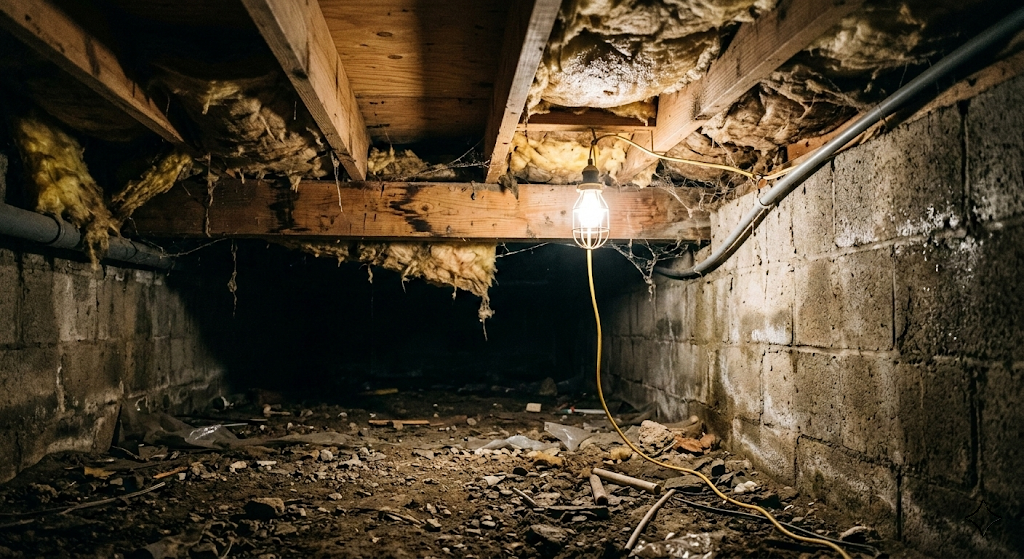
This is what most crawl spaces look like before encapsulation: fallen insulation, moisture stains on the blocks, debris on a bare dirt floor. Out of sight, but definitely not out of mind.
What Is Crawl Space Encapsulation, Anyway?

A heavy-duty vapor barrier is the foundation of any complete crawl space encapsulation system.
Crawl space encapsulation is the process of completely sealing your crawl space from ground moisture and outside air. Think of it as putting your crawl space in a giant, sealed envelope. Nothing gets in that you don't want in there.
A full encapsulation system includes:
- A heavy-duty vapor barrier — thick polyethylene plastic sheeting installed over the entire dirt floor and up the foundation walls. Industry standard is 20-mil thickness. You'll hear contractors mention 6-mil, and sure, that exists, but it's a budget shortcut. Twenty-mil is puncture-resistant, long-lasting, and actually does the job. The barrier gets taped at the seams with waterproof tape and fastened to the walls so it stays put.
- Vent sealing — Those old crawl space vents? They're getting sealed. The old-school thinking was "ventilate the crawl space to keep it dry." Turns out that logic is backwards. In a Midwest summer, you're pumping warm, humid outdoor air into a cool space — which causes condensation on every surface down there. Modern building science says seal it up.
- Wall insulation — Rigid foam board on the foundation walls (not fiberglass batts on the floor joists). Here's an important note: fiberglass batt insulation has no place in an encapsulated crawl space. It holds moisture, it grows mold, and it falls apart. If a contractor recommends it, that's a problem. We'll get to contractor red flags later.
- A crawl-space-rated dehumidifier — The liner does the heavy lifting, but you still need a mechanical way to control residual moisture. A properly sized dehumidifier keeps the space conditioned year-round.
- Air sealing — Every pipe penetration, wire chase, and crack gets sealed. This is the part most people don't think about, but it's critical for both moisture control and energy efficiency.
This is different from basement waterproofing, which deals with water intruding through concrete walls and floors. Different problem, different solution, different contractor. Don't let anyone mix those up.
Warning Signs Your Crawl Space Is In Trouble

Exposed joists and unfinished foundation walls are common in Midwest crawl spaces — and common moisture trouble spots.
Here's a checklist. Read it honestly.
- Musty or earthy smell — Coming up through your floors, your vents, or just generally hanging around your first floor in spring. That's mold or mildew growing on wood or old insulation down below.
- Cold floors in winter / damp floors in spring — Your subfloor is absorbing moisture from below. You shouldn't be able to feel the difference between standing on your floor and standing on a cold slab.
- High energy bills — If your heating or cooling costs crept up this past winter and you can't figure out why, your crawl space might be hemorrhaging conditioned air.
- Visible moisture or condensation — After snowmelt or spring rain, if you look under there and see water pooling or condensation on surfaces, you've got a real problem.
- Wood rot or soft floor joists — If the wood under your home is discolored, soft, or starting to deteriorate, moisture has been doing damage longer than you thought.
- Bouncy or sagging floors — This is the structural warning sign. If a section of your floor has more give than it used to, the joists are compromised.
- Pest activity — Rodents, cockroaches, termites. They love damp, dark, undisturbed spaces. And their droppings and activity compound the air quality problem.
- Worsening allergies in spring — If you or your family seem to struggle more in the house than outside during spring, mold spores from below could be the culprit.
Rule of thumb: If you've got any TWO of these, call a crawl space contractor. Get an inspection. Most good contractors will come out and assess for free or a small fee. You need to know what you're dealing with before it gets worse.
Why Spring Is the Best Time to Get It Done
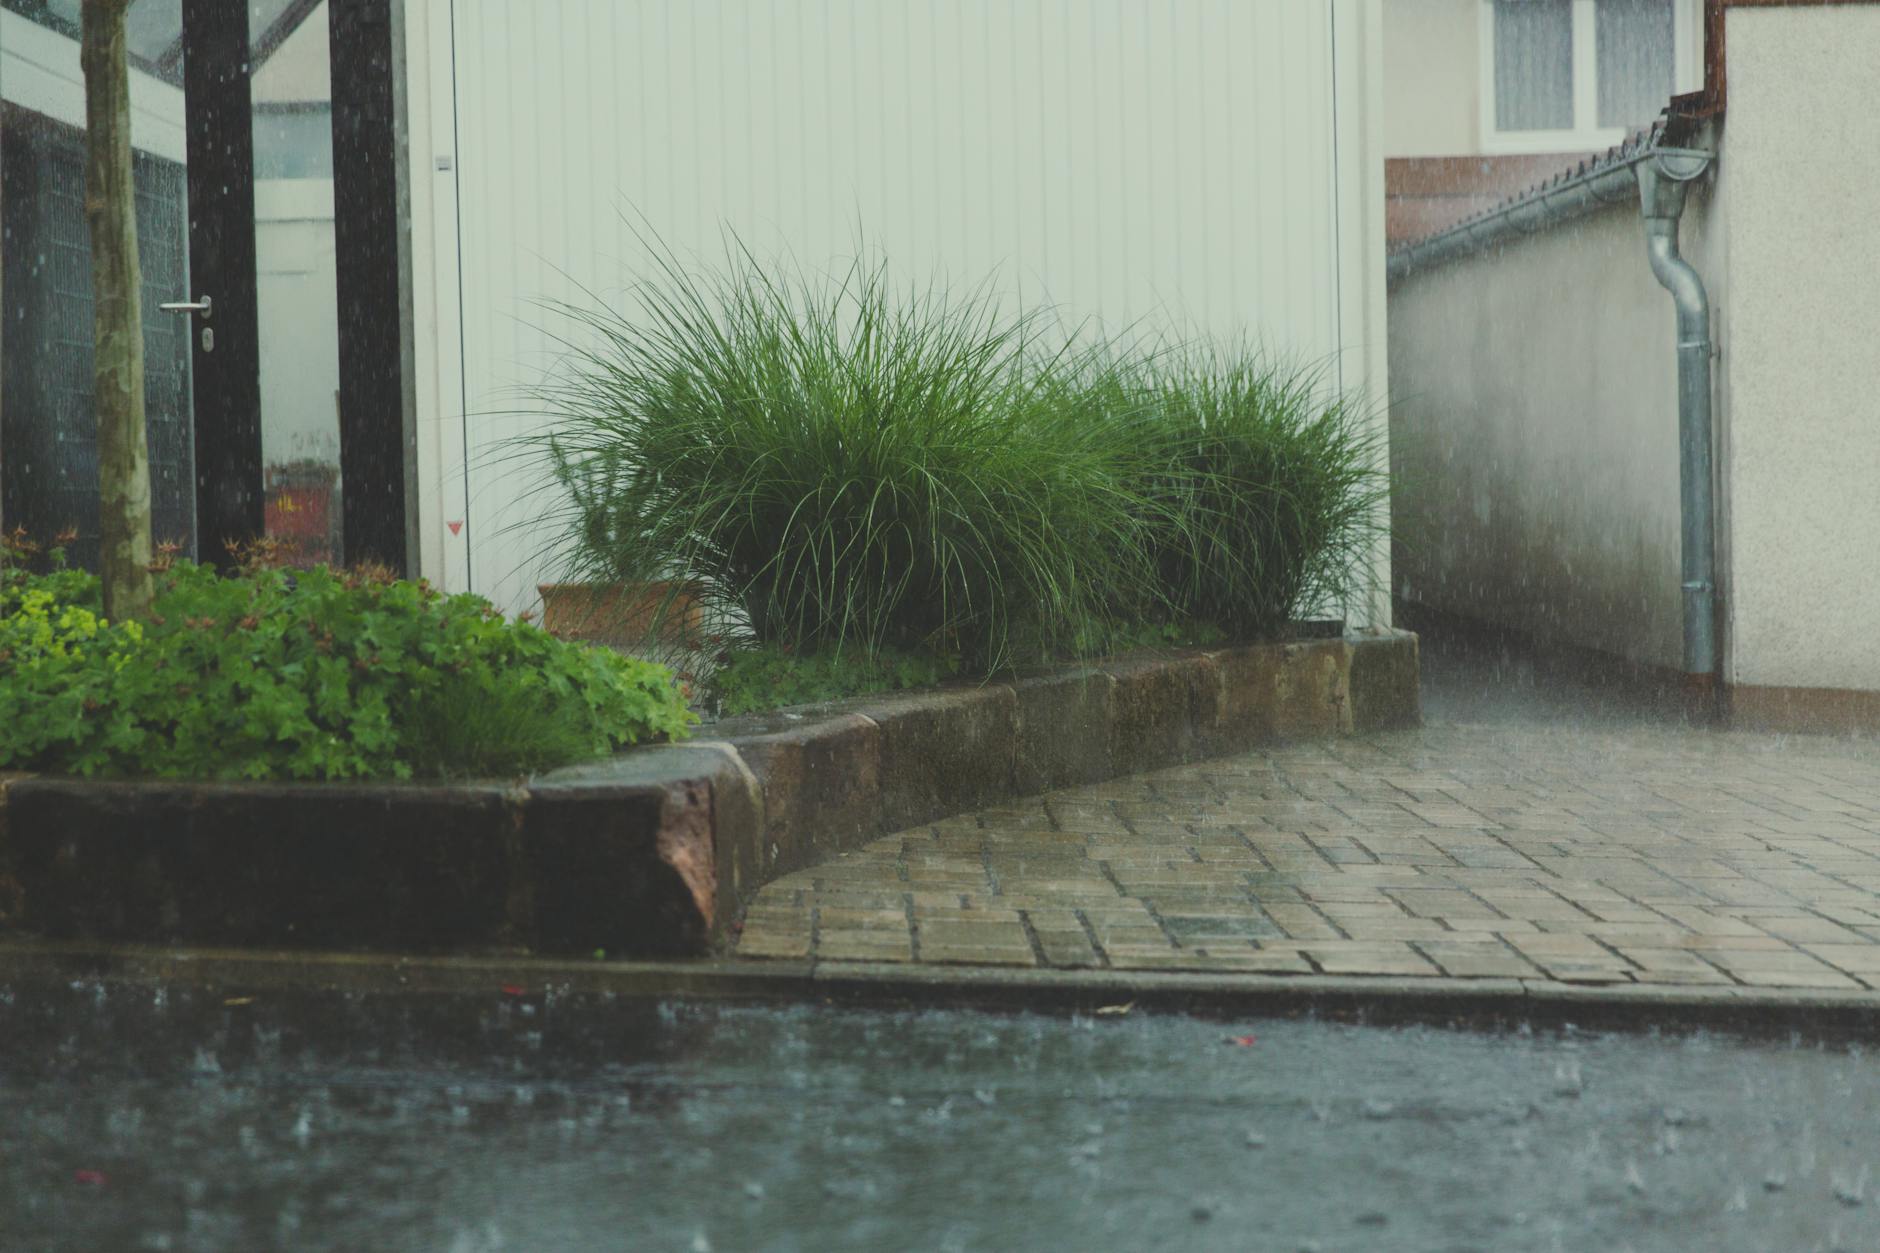
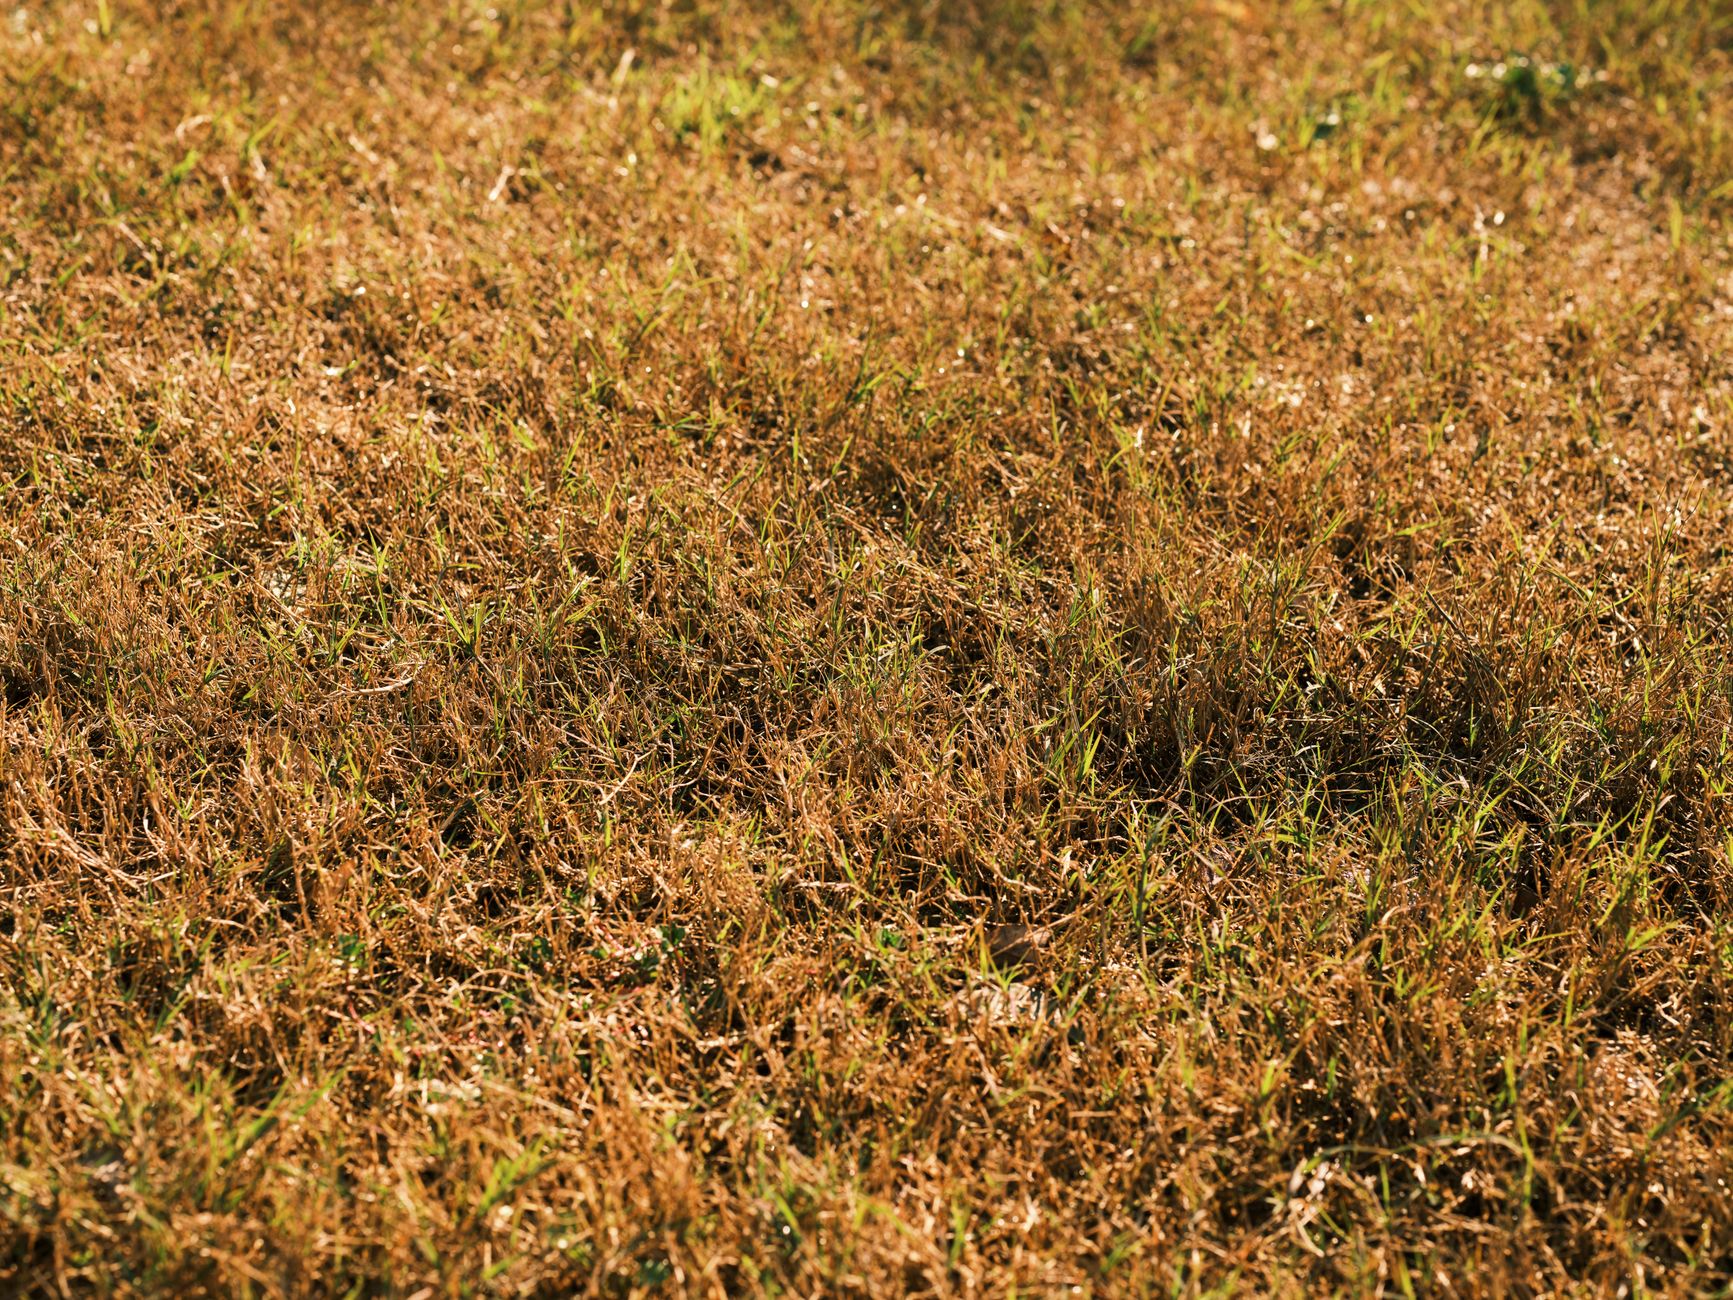
Spring rain and thawing ground saturate the soil around your foundation — the worst time to ignore your crawl space.
Here's the timeline of what happens to a Midwest crawl space every year, and why spring is the critical intervention window.
Winter: The ground freezes and thaws repeatedly throughout January and February. Every freeze-thaw cycle creates micro-cracks and pressure in your foundation. Water infiltrates those cracks and sits in the soil immediately surrounding your crawl space.
March–April: All that saturated soil starts releasing moisture vapor upward as temperatures rise. The ground is literally pushing moisture into your crawl space from below. Meanwhile, outdoor humidity is climbing, and temperature differentials cause condensation on every cold surface down there — the floor, the joists, the pipes.
May–June: If you haven't dealt with it, mold already has a head start. Mold spores can begin colonizing within 24–48 hours of hitting the right moisture conditions. By the time outdoor summer humidity arrives, you've got an established problem that's now harder and more expensive to fix. Summer humidity also makes encapsulation harder to do well — contractors are trying to install a moisture barrier in the most moisture-intensive conditions of the year.
Spring is the sweet spot — you're catching the problem at its early stages, before mold takes hold, and before contractors hit their summer HVAC rush. Booking in March or early April means you're ahead of the line, and spring pricing tends to be more competitive than the summer crunch.
Don't wait until you can smell it on a hot July afternoon through your kitchen floor. By then you're not just encapsulating — you're also doing mold remediation.
What It Costs in Indianapolis and Chicago

Get three quotes. Prices for the same crawl space job can vary by $1,500–$2,000 across contractors.
Let's get to the number people actually want. Here's what the market looks like in 2026.
National Averages:
- Average cost: $5,500
- Typical range: $1,500 – $15,000
- Per square foot: $3 – $7 (up to $10 for severe damage)
Indianapolis:
- Average full encapsulation: $4,700
- Typical range: $3,055 – $6,815
- Per square foot: $2.55 – $6.80
- Labor rate: $40 – $60/hour
Chicago:
- Average full encapsulation: $5,200
- Typical range: $3,380 – $7,540
- Per square foot: $2.85 – $7.60
- Labor rate: $50 – $75/hour
Indianapolis runs cheaper than Chicago for a few straightforward reasons: lower metro labor rates, and Chicago's permitting requirements are more extensive. The City of Chicago requires permits for structural crawl space work, which adds cost and timeline. Indianapolis-area permits run around $100; Chicago-area permits are closer to $200 and require more coordination.
What you're actually paying for — component breakdown:
- Vapor barrier (20-mil): $0.40 – $0.60 per square foot in materials
- Drainage matting / French drain (if needed): $600 – $1,800 for the system
- Foundation wall insulation (rigid foam): $2.50 – $3.00 per square foot
- Crawl space dehumidifier (installed):
- Indiana average: $564 – $1,645 (avg $1,034)
- Illinois average: $624 – $1,820 (avg $1,144)
- Vent covers: $10 – $22 each
- Labor: 50–70% of total project cost
What drives the cost up:
- Drainage matting or a sump pump — If water is pooling under your house, encapsulation alone won't cut it. You need drainage first, then the liner on top. Add $1,175 – $3,290 in Indiana; $1,300 – $3,640 in Illinois.
- Mold remediation — If there's active mold on the joists or subfloor, it has to be addressed before you seal everything up. Average remediation cost in Indiana runs $1,410 – $3,760. You cannot encapsulate over an active mold problem. It doesn't go away — it just stays contained and keeps eating your wood.
- Existing structural damage — Rotted joists or posts need to be sistered or replaced before the liner goes in. Structural repair in Indiana averages $2,350 – $9,400.
- Access difficulty — A crawl space with a tiny access door, severe low clearance, or complex layout takes more labor hours. Contractors price accordingly.
The range is wide because the variables are real. A simple 1,200 square foot crawl space with no existing damage, good access, and no water issues is on the lower end. A 2,000 square foot space with partial mold, tight clearance, and drainage problems is on the higher end. Get three quotes.
Can You DIY It? The Honest Answer
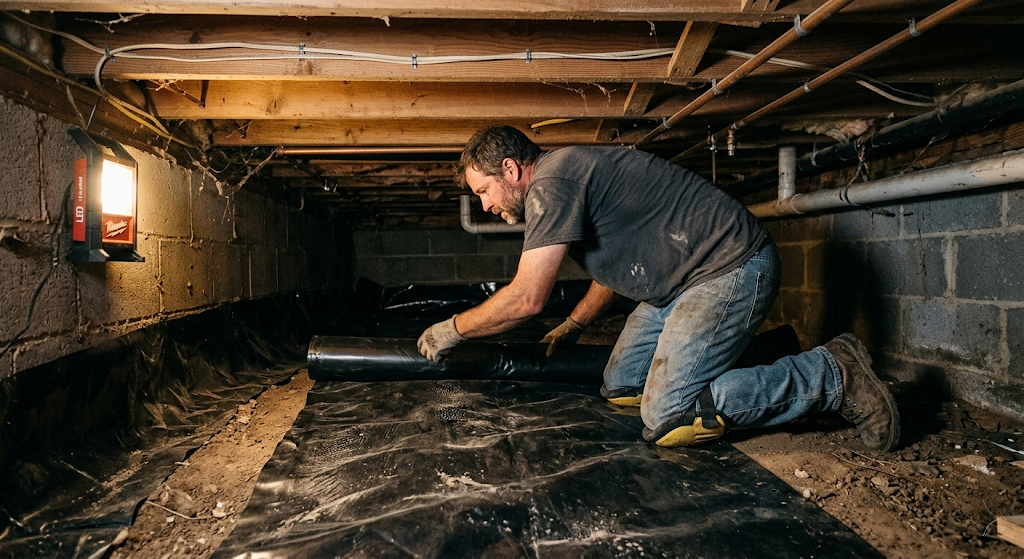
A basic vapor barrier is achievable for a motivated DIYer — dirty work, tight space, but manageable. Full encapsulation with sealed walls, drainage, and a dehumidifier is a different level entirely.
You can DIY a basic vapor barrier. A motivated homeowner who's comfortable in a confined space, has a helper, and doesn't mind crawling around in the dark can buy rolls of 6-mil or 12-mil poly sheeting, lay it on the dirt floor, overlap the seams by 6 inches, and tape them. Materials will run you somewhere in the $500 – $800 range for a typical crawl space. It's not glamorous work, but it's doable.
That is not the same thing as a full crawl space encapsulation.
Getting the liner up the walls and properly secured, sealing every pipe and wire penetration, sealing the vents, installing and wiring a dehumidifier, handling drainage if water is present — that is professional work. Not because contractors want your money (well, partly), but because errors in encapsulation are expensive to fix. If you trap moisture between layers, or seal a space that still has drainage issues, or leave penetrations unsealed, you've created a contained moisture problem that accelerates the exact damage you were trying to prevent.
If there's any existing mold, stop right there. Mold remediation is not DIY territory. It requires proper PPE, containment, and disposal. Your health and your family's health are not worth the savings.
Bottom line:
- Basic vapor barrier on a clean, flat floor with no mold or drainage issues? DIY is possible.
- Full conditioned crawl space encapsulation? Hire a professional.
- Any existing mold? Hire a professional.
- Any drainage issues? Hire a professional.
Health Benefits You'll Actually Feel

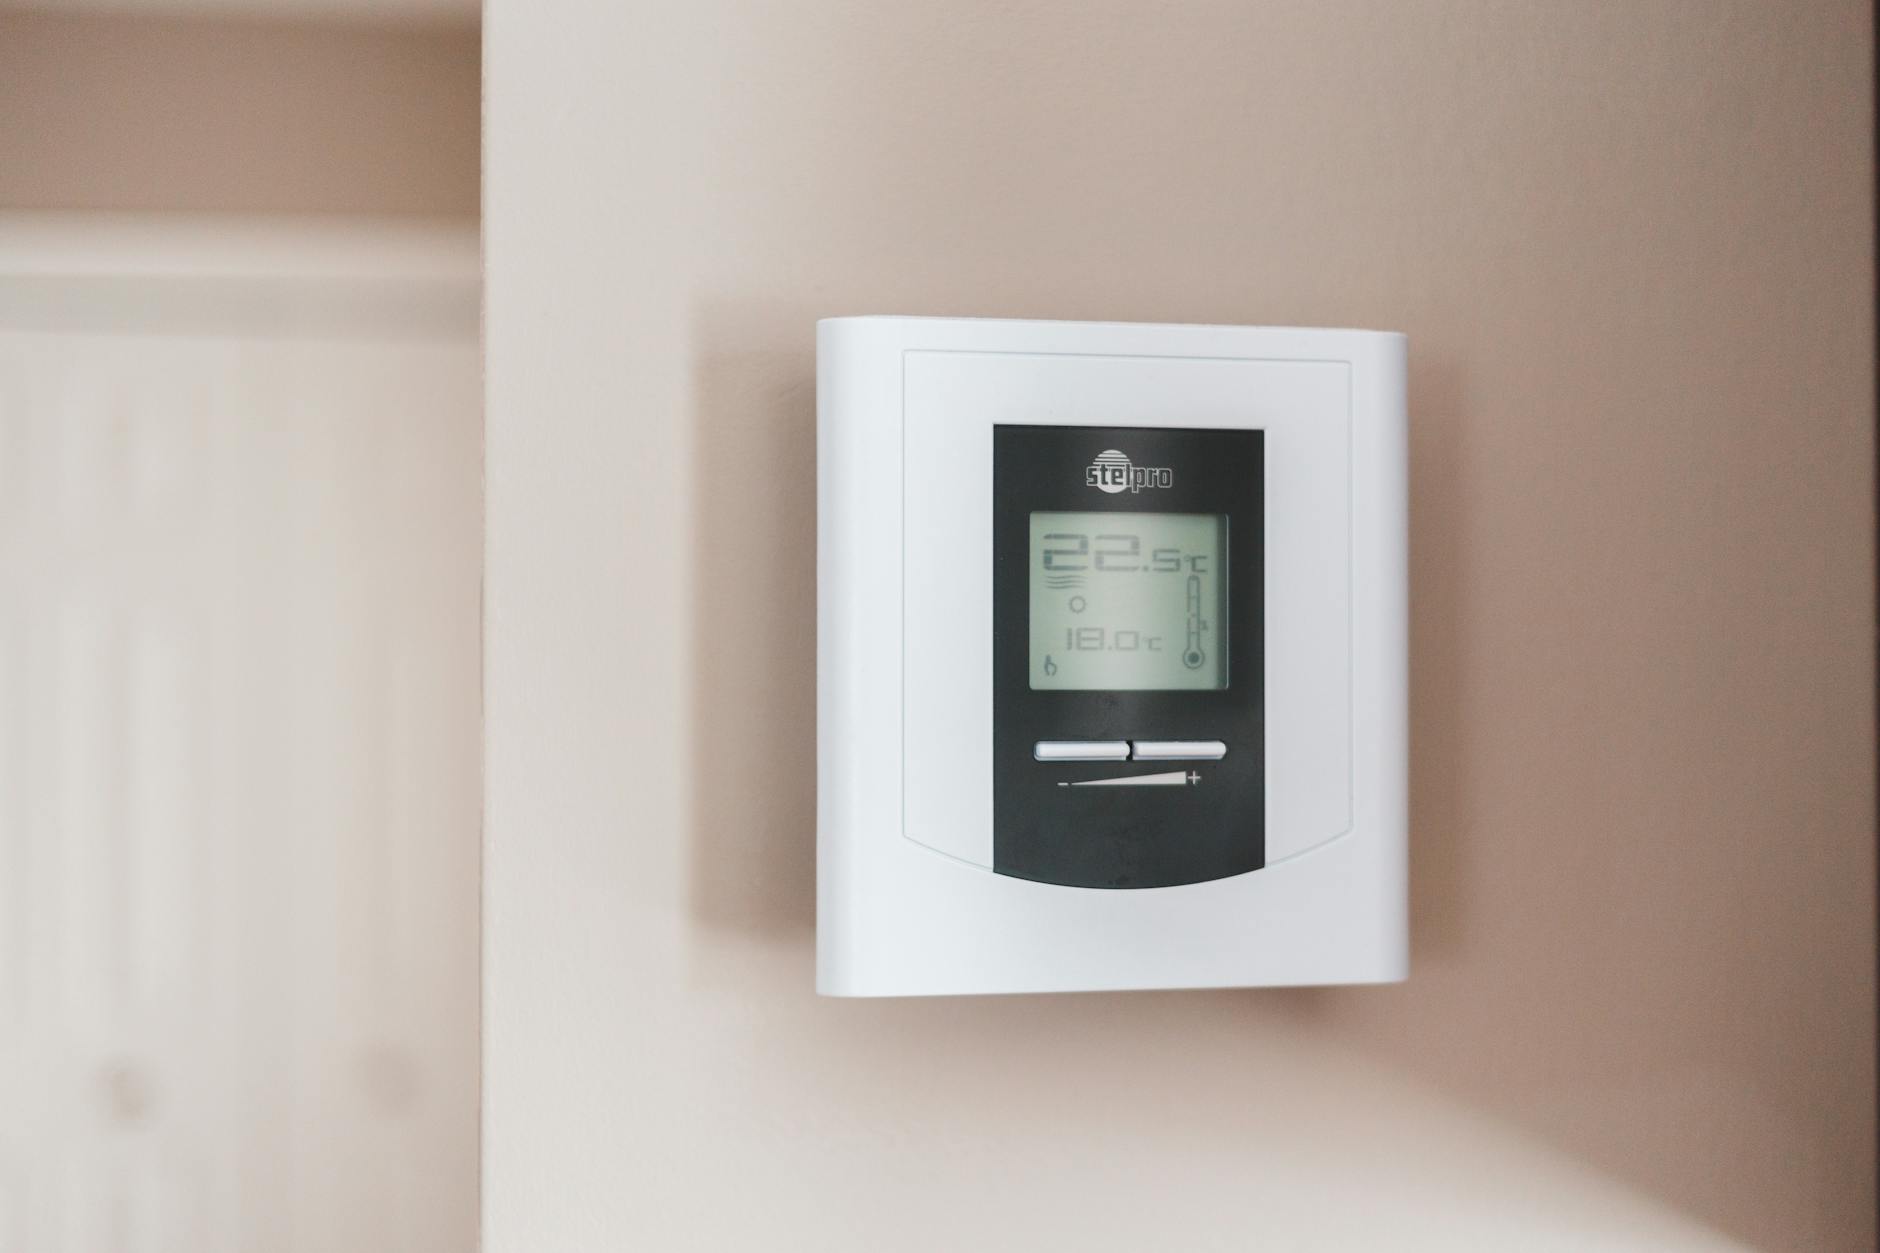
Cleaner crawl space air means cleaner indoor air — measurable in CO2, humidity, and particulate levels.
Back to that 50% number. Building scientists are pretty consistent on this: due to the stack effect, up to half the air circulating through your home on any given day has passed through your crawl space. Warm air rises out through your attic and roof. Your home compensates by drawing air from the lowest available opening — which in a crawl space home, is directly below your floors.
If your crawl space has mold, you're breathing mold spores. If it has dust mite colonies (and wet crawl spaces do), you're breathing their waste. If pests have been through there, you know what you're breathing.
The health effects are real:
- Respiratory irritation — particularly for children, elderly, and people with existing lung conditions
- Allergy symptoms — spring allergy season feels a lot worse when your HVAC is pulling allergens from below and pushing them through your ductwork
- Asthma exacerbation — mold spores are a documented asthma trigger
There's also a radon consideration. Radon is a naturally occurring radioactive gas that rises from soil and enters homes through their lowest points — crawl spaces and foundation walls. Encapsulation creates a physical barrier that blocks those entry pathways. It helps. But encapsulation alone may not lower radon to EPA-recommended safe levels (below 4 pCi/L). If radon is a concern — and in the Midwest, it often is — test for it separately and, if needed, install a dedicated radon mitigation system with a sub-slab fan. Encapsulation and radon mitigation together are highly effective. Encapsulation alone doesn't guarantee radon is solved.
The bottom line on health: a properly encapsulated crawl space means cleaner air, fewer allergens, and a genuinely more livable home. People regularly report sleeping better and having fewer seasonal allergy issues after encapsulation. That's not a marketing claim — it's what happens when you stop pumping basement air through your living space.
Energy Savings: What to Realistically Expect
A properly encapsulated crawl space means your HVAC isn't fighting a losing battle with ground moisture every season.
The US Department of Energy has found that homeowners can save an average of 15% on heating and cooling costs by air sealing their homes and adding insulation. EPA data puts the number in a similar range. Some full crawl space encapsulation projects report savings up to 20% on heating and cooling bills — particularly in colder climates like Indiana and Illinois, where temperature differentials between your conditioned living space and the outdoors are significant.
Here's how the savings actually happen:
- The vapor barrier and wall insulation block drafts and moisture, stabilizing indoor temperatures. Your HVAC doesn't have to fight the outdoors constantly.
- The dehumidifier keeps indoor humidity lower. Lower humidity means you're comfortable at a higher thermostat setting in summer — less air conditioning needed.
- Sealed vents eliminate one of the largest air leakage pathways in older homes.
- Insulated foundation walls retain heat from the floor system in winter. Those cold floors you've been living with? Fixed.
Let's be straight about the math, though. At an average Indiana monthly HVAC bill, 15% savings comes out to roughly $200–$270 per year for most households. A full encapsulation at $4,700 on energy savings alone is a long payback. The real return on investment is what you're avoiding: structural repair bills in the $5,000 – $20,000 range when floor joists rot out, mold remediation costs, HVAC wear from fighting a losing battle with moisture, and the headache of a home inspection turning up a crawl space problem when you're trying to sell.
Think of encapsulation less like a solar panel payback calculation and more like changing the oil in your car. It's maintenance. It prevents the expensive failure.
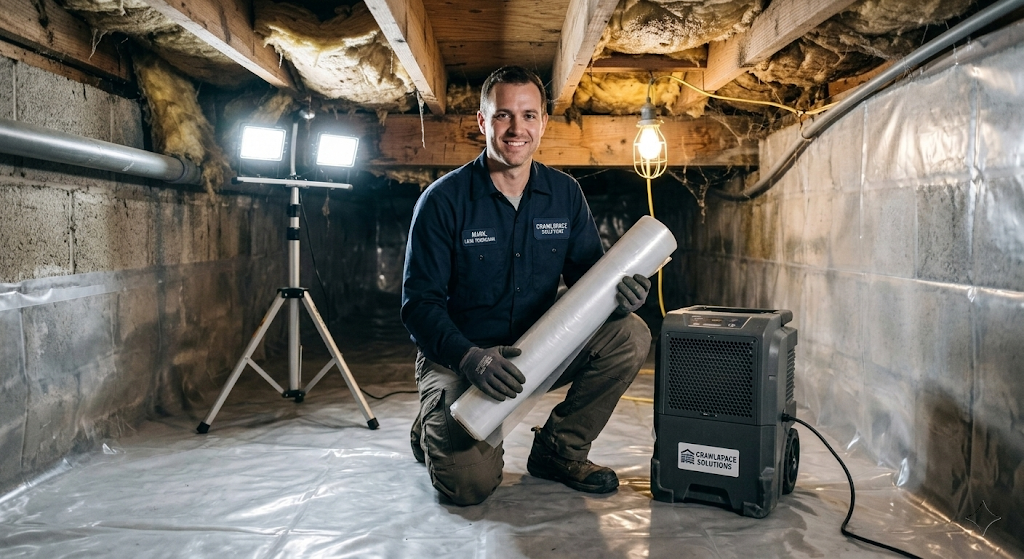
A licensed crawl space contractor brings the full package: thick vapor barrier, commercial-grade dehumidifier, and the expertise to seal every seam. This is what the finished product looks like.
How to Hire a Crawl Space Contractor (Without Getting Burned)
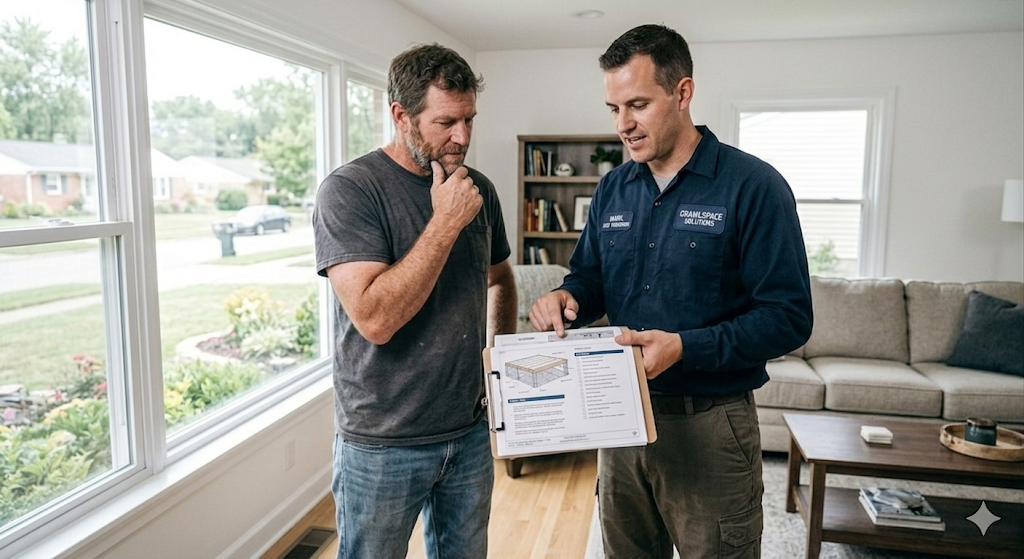
A good contractor walks you through the inspection findings and the proposal line by line — before you sign anything.
Indiana has no statewide general contractor licensing requirement. Illinois doesn't either at the state level — though Chicago and most Illinois municipalities require local contractor licenses for structural work. What that means for you is that basically anyone can hang out a shingle and call themselves a crawl space encapsulation company. The barrier to entry is low.
Here's how to protect yourself.
The vetting checklist:
- Licensed and insured — Ask for proof of general liability insurance and workers' compensation coverage. This is non-negotiable. If they can't produce it, you're on the hook if someone gets hurt on your property. In Chicago specifically, ask to see their city contractor license.
- Ask about vapor barrier mil thickness — The right answer is 20-mil. "We use 12-mil" is acceptable if the price reflects it. "We use 6-mil" is a red flag unless it's a very limited scope job. If they can't tell you the thickness, they don't do quality work.
- Get three quotes — Prices can vary by $1,500 – $2,000 for the same job. Three quotes tells you what the real market rate is and gives you negotiating room.
- Ask what happens to existing moisture or mold before installation — A good contractor inspects first, remediates any mold, and addresses drainage before the liner goes in. If a contractor says they'll just "put the barrier over it," walk away. You cannot seal a mold problem.
- Warranty — Ask specifically: what's covered, for how long, and does it include both materials and labor? A lifetime warranty on the vapor barrier liner is industry standard from reputable companies. Ten-year warranties on labor are reasonable. Written warranty documentation, not a verbal promise.
- Will they pull permits? — In areas that require permits, a contractor who skips the permit is either trying to cut corners or avoid inspection. Both are problems. For Chicago homeowners especially, permit compliance matters.
Red flags — walk away if you see these:
- Cash only, no written contract
- Pressure to sign same-day or the price goes up
- Recommends fiberglass batt insulation on the floor joists (outdated, mold-prone, wrong approach)
- Won't provide proof of insurance
- Quote that covers only a vapor barrier with no mention of vents, sealing, or dehumidification
- No post-installation inspection or moisture reading
A good crawl space contractor will take their time on the inspection, explain what they found, show you photos, and walk you through the proposal line by line. They're not trying to sell you a bigger job than you need — they're trying to solve an actual problem. That's the person you want under your house.
Your crawl space is out of sight, but it is absolutely not out of impact. It's affecting the air you breathe, the temperature of your floors, your energy bills, and the long-term structural integrity of your home. Spring is the moment — right now, while the moisture pressure is peaking and before summer humidity sets in — to get it handled. Don't wait until July when you can smell it through the kitchen floor. Find a licensed crawl space contractor in Indianapolis or Chicago on Saorr and get this off your list before the Midwest summer does what it always does.
Find Trusted Pros Near You
Ready to start your project? Connect with vetted, top-rated contractors in your area.
Get StartedRelated Articles

Spring Pest Control 2026: When to Spray, What to Watch For, and Why March Is Already Too Late to Wait
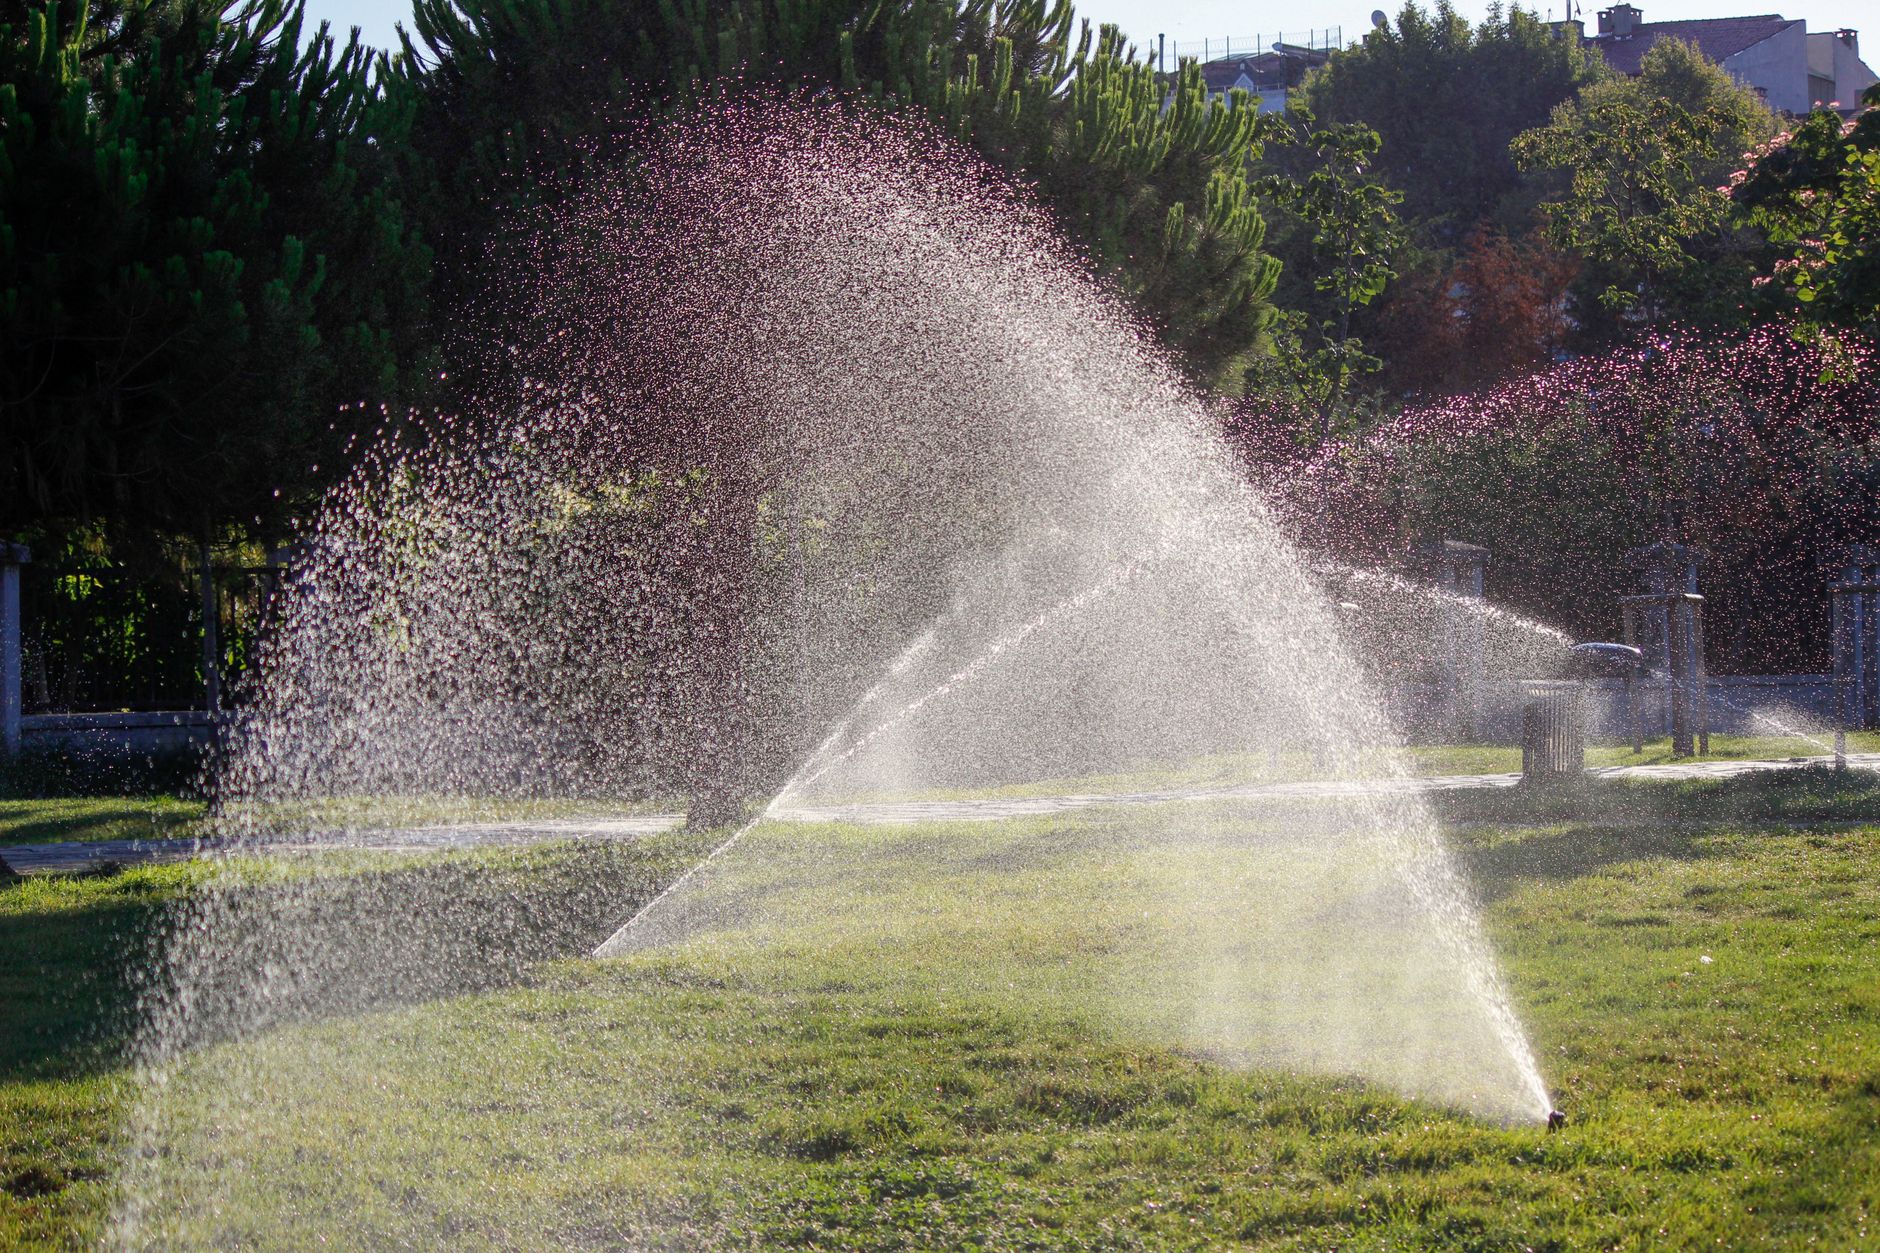
Spring Sprinkler Startup: What Irrigation Contractors Find Wrong Every Year (And What It Costs You)