Your Deck Took a Beating This Winter: What to Inspect (and Fix) Before Summer in Indianapolis & Chicago
Your deck has been sitting under snow and ice for four months. Now it's March, the temperature's swinging thirty degrees in a single afternoon, and you're already planning the first cookout of the year. Before you drag the furniture out of the garage, you need to do one thing first: actually look at your deck.
Not a glance from the back door. A real inspection. On your hands and knees if that's what it takes.
Midwest winters are particularly brutal on outdoor wood structures. Every time the temperature drops below freezing and then warms back up — and Indianapolis and Chicago had plenty of that this January and February — water that's soaked into your deck boards, posts, and fasteners expands and contracts. It's doing its level best to tear your deck apart from the inside.
Here's the uncomfortable truth: According to the International Association of Certified Home Inspectors (InterNACHI), only about 40% of decks in the United States are completely safe. InterNACHI and NADRA estimate that more than 6,000 people are injured each year in deck collapses and failures. Most of those failures don't announce themselves — they wait until there's 15 people on the deck for a Fourth of July party.
March is your window. Before the contractors book up, before the kids are out of school, before you're out there in flip-flops on boards that shouldn't be holding your weight. Do the inspection now.

Why Winter Is Especially Hard on Midwest Decks

There's a physics reason your deck takes more damage in winter than it does in the other three seasons combined. Water is the culprit — specifically what happens to water when it freezes.
Wood is porous. Over the course of a summer, rain and humidity drive water deep into deck boards, posts, and the wood framing underneath. When that water freezes, it expands by about 9% in volume. That expansion pushes outward against the wood grain, widening existing cracks, popping nails and screws loose, and splitting boards that were holding together just fine before November.
In Indianapolis, the ground frost depth typically reaches 24 to 30 inches. In Chicago, it can go 36 to 42 inches. That's enough to actually move your deck posts — a process called frost heave — which puts stress on every connection point in the structure. If a post shifts even half an inch, the beam it's holding moves with it, and the fasteners holding everything together take the load they weren't designed for.
Add in the ledger board — the board that attaches your deck to the house — sitting right at the junction where ice dams form, snowmelt drains, and winter moisture concentrates. It's the most critical connection point on your deck and the one that takes the most abuse.
This is why the post-winter inspection isn't a formality. It's the only way to know what you're actually standing on.
The 6-Point Deck Inspection You Can Do This Weekend

You don't need special equipment for this inspection. You need a flathead screwdriver, your hands, and a willingness to get on your knees and actually look at things. Bring a notepad or your phone to photograph anything that concerns you.
1. Start with the Deck Boards
Walk the entire surface of your deck slowly. You're looking for boards that have cupped, warped, or cracked over the winter. Pay attention to any that feel soft under your feet — that's rot, and rot spreads.
Take your flathead screwdriver and probe any cracks or splits you find. If you can push the screwdriver more than a quarter-inch into a crack without much resistance, or if the wood feels spongy and breaks off without splintering cleanly, that board is compromised. Flag it for replacement.
Also look for raised nail heads and protruding screws — these are tripping hazards and a sign that the fasteners are working loose. A few raised nails can be hammered back down or replaced with deck screws. A lot of them mean the boards are moving, which means you have a deeper problem.
2. Inspect the Ledger Board
This is the most important item on the list. According to InterNACHI, about 90% of deck collapses happen when the deck separates from the house at the ledger board. This is where catastrophic failures start.
Look for any gap forming between the ledger board and your house's rim joist. A gap that didn't exist last fall means the connections are loosening. Probe the ledger board with your screwdriver — if it's soft or punky, you have rot. The ledger should be attached with half-inch lag screws or through bolts, not nails. If you see nails, that's a structural risk that needs to be addressed before summer.
3. Check the Ledger Flashing
Flashing is the metal or vinyl barrier that prevents water from getting behind the ledger board and into your house's rim joist and framing. In a Midwest winter, this is exactly where ice accumulates and snowmelt runs.
Look for flashing that has pulled away from the house, creating gaps. Check the caulk around any overlapping pieces — if it's cracked, brittle, or missing, water has been getting in all winter. Water behind the ledger means rot in your house framing, not just your deck. This is where a small repair becomes a large, expensive one if you wait.
4. Test the Railings and Balusters
Grab each section of railing and give it a firm shake. Building code requires deck railings to withstand 200 pounds of lateral force. A railing that moves noticeably when you shake it is not meeting that standard, and it's a liability if a guest leans against it.
Check the spacing between balusters — code requires them to be no more than 4 inches apart. Balusters that have shifted or cracked from winter movement may no longer meet that requirement. Railings must be at least 36 inches high on decks less than 30 inches off the ground; higher decks require 42 inches.
5. Examine the Support Posts and Footings
Get down and look at the base of every support post. This is where frost heave damage shows up — look for posts that have lifted slightly off their footings, tilted, or shifted from where they were last fall. Even an inch of movement is significant.
Probe the base of each post with your screwdriver, especially where they meet concrete footings or the ground. Rot at the post base is common and dangerous. Check the hardware connecting posts to beams — corrosion, loose bolts, and cracked brackets all need attention.
6. Test the Surface Finish
Pour a cup of water on your deck in a few different spots. If it beads up and rolls off, the waterproof finish is still doing its job. If it soaks straight in — darkening the wood — the protective coating has worn away and your boards are absorbing whatever winter throws at them directly.
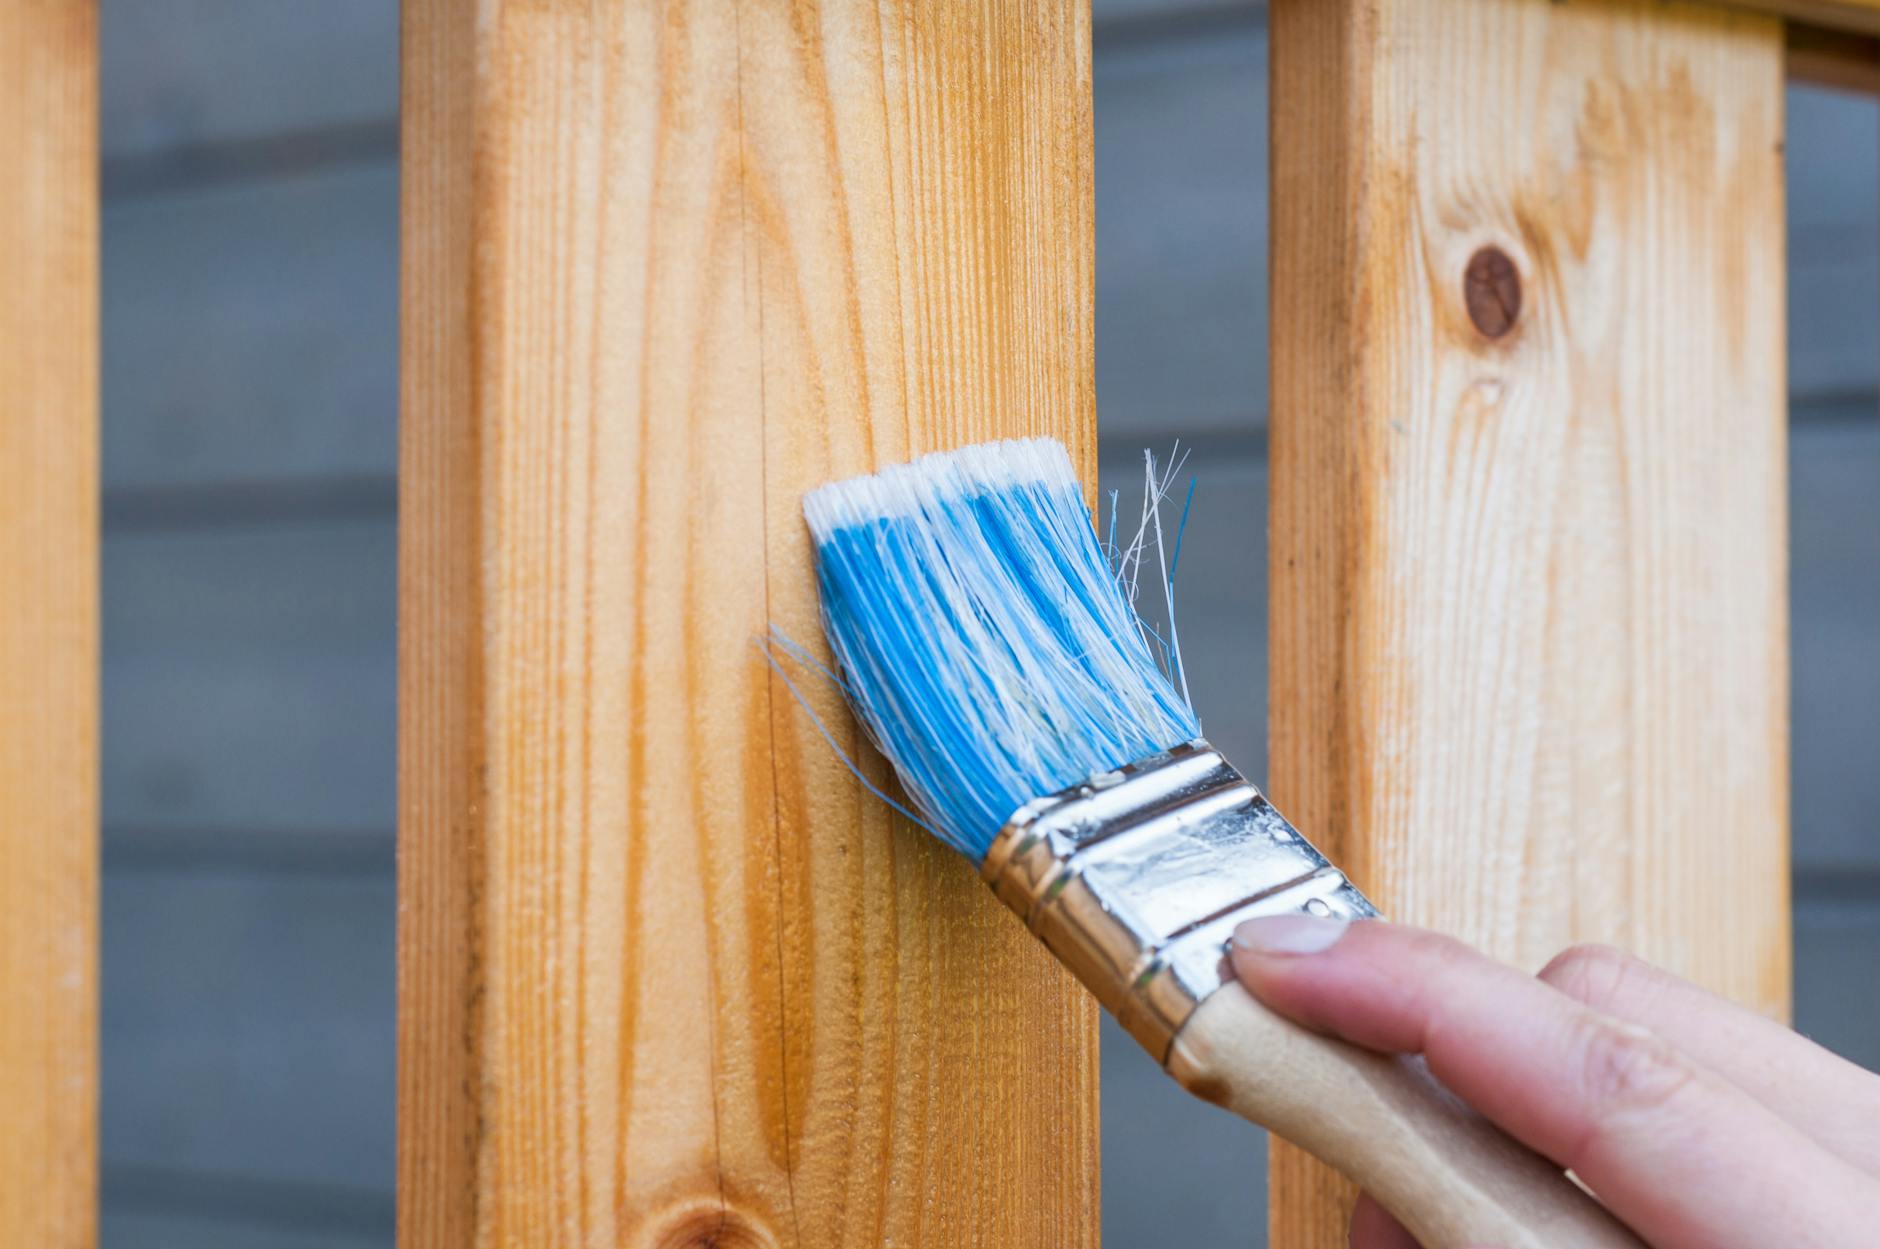
A deck that's lost its finish needs to be cleaned and re-sealed before summer, not after. Waiting means another season of water penetration, which accelerates the rot and splitting you've been fighting all winter. Power wash first, let it dry thoroughly (at least 48 dry hours), then apply a penetrating waterproof finish or stain.
What You Can Fix Yourself — and What You Can't
Here's the honest breakdown on what's DIY territory and what needs a professional.
DIY-Friendly Repairs
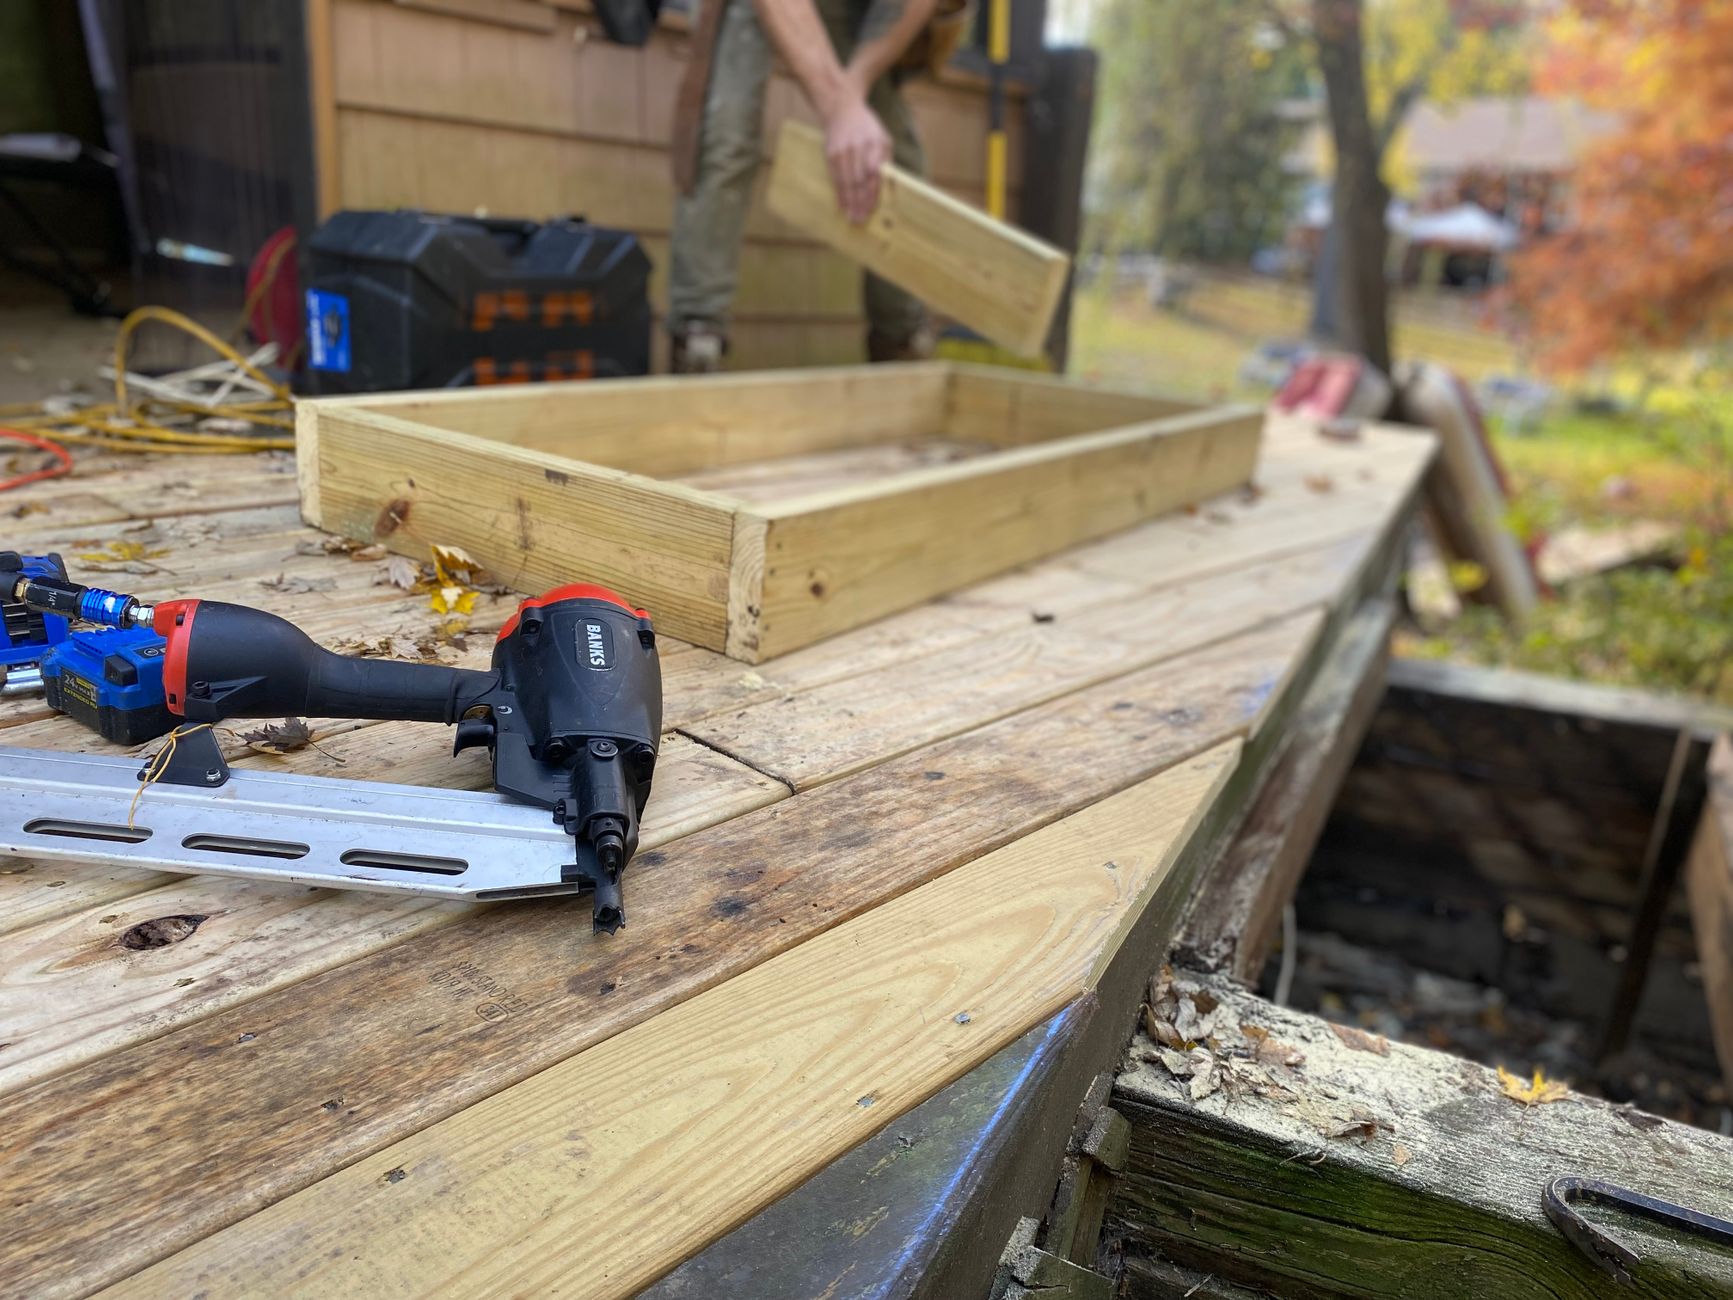
- Replacing individual deck boards: Standard lumber or composite boards, a circular saw, and the right fasteners. If fewer than 20% of the surface is compromised, this is a manageable weekend project.
- Re-setting raised nails and screws: Hammer raised nails back flush, or better yet, pull them and replace with deck screws.
- Tightening railing connections: If bolts are accessible, tighten them. Add carriage bolts if the connections are undersized.
- Re-caulking flashing joints: Use a high-quality exterior caulk or deck flashing tape. This is a simple repair that prevents serious water damage.
- Cleaning and re-staining: Pressure wash the deck, let it dry, and apply a fresh coat of penetrating sealer or stain.
Call a Pro For These
- Ledger board rot or detachment: This is structural and directly connected to your house. Do not attempt this yourself.
- Support post replacement: Requires jacking the deck, replacing the post, and ensuring the new footing meets code. One mistake here, and the whole thing comes down.
- Frost-heaved footings: If posts have moved significantly, the footings may need to be dug out and reset below the frost line.
- More than 30% of deck boards compromised: At that point, you're likely looking at structural issues underneath. Get an inspection before you start replacing boards.
- Anything you're not certain about: A deck inspection by a certified professional runs $100–$300. That's cheap insurance before summer entertaining season.
What Does Deck Repair Actually Cost in Indianapolis and Chicago?
The range is wide because deck damage is wide. Here's what to expect based on what you find:
- Minor repairs (a few boards, some caulk, tightening hardware): $150–$500
- Moderate repairs (multiple boards, railing work, ledger reinforcement): $570–$2,600 — the national average sits around $1,465
- Staining and sealing (professional): $550–$1,250 depending on deck size
- Composite board replacement: $12–$45 per square foot for materials
- Structural repairs (posts, footings, ledger board): $2,600–$6,670
- Full deck replacement (if structure is compromised): $15,000–$35,000+
The math here is pretty clear: a $300 inspection now and $1,500 in targeted repairs is a much better outcome than a $25,000 rebuild because you skipped the spring checklist for three years running.
One more thing about timing: every April and May, deck contractors in Indianapolis and Chicago book out weeks ahead. Spring is when everyone realizes their deck is a problem. If you do your inspection now and identify the work that needs doing, you can schedule a contractor in March and actually get someone out before the rush.
A Quick Note on Composite and PVC Decks

If your deck is composite or PVC rather than wood, you're not off the hook — you're just dealing with different issues. Composite boards don't rot, but they can warp, crack, and fade. More importantly, the structural elements underneath — the ledger board, posts, joists, and hardware — are almost always still wood or steel. Those components need the same inspection regardless of what you're walking on.
Check composite boards for cracks, buckling, and mold growth (composite can harbor surface mold, especially in the gaps between boards). Check all hardware for corrosion. And run the same ledger board and railing inspection as you would on a wood deck — the surface material doesn't change what's holding it up.

Ready to Get Your Deck Sorted Before Summer?
If your inspection turned up issues — or if you'd rather have a professional do the inspection in the first place — Saorr connects you with licensed deck contractors in Indianapolis and the surrounding area who have real reviews, real credentials, and real availability right now, before the spring booking rush closes out their calendars.
Don't wait until Memorial Day weekend to find out your deck isn't safe. It takes ten minutes to find a contractor on Saorr, and it might save you a hell of a lot more than that.
Find Trusted Pros Near You
Ready to start your project? Connect with vetted, top-rated contractors in your area.
Get Started