Outdoor Hose Bib & Spigot Replacement — Midwest Spring 2026
Outdoor Hose Bib & Spigot Replacement: What Midwest Homeowners Need to Know This Spring
Spring is the perfect time to inspect and replace your outdoor hose bibs and spigots after a tough Midwest winter. Learn when to DIY, when to call a plumber, and what it actually costs to get it done right.

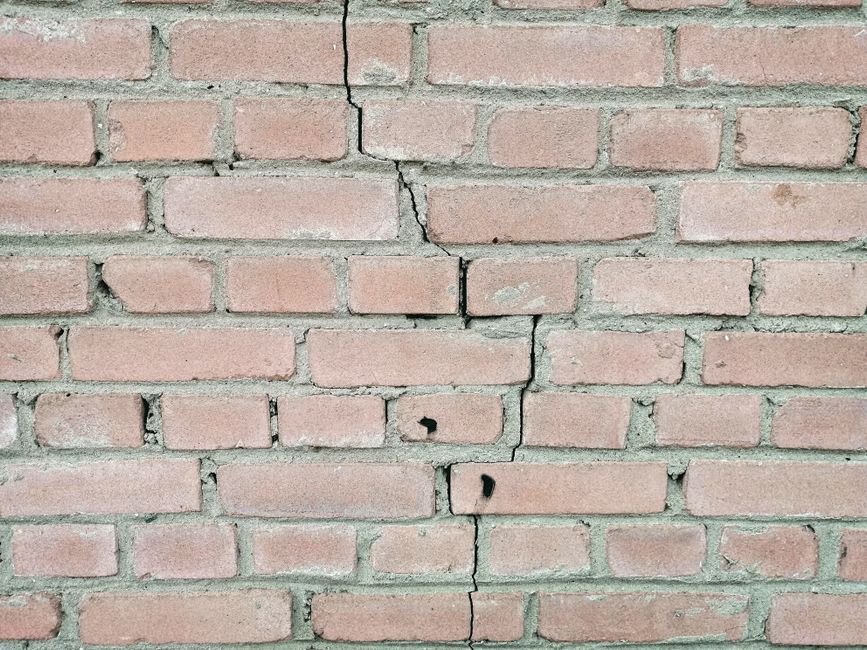
Every spring, homeowners across Indianapolis and Chicago turn on their outdoor spigots for the first time since fall — and discover they've got a problem. Maybe it's a slow drip. Maybe it's a gusher. Maybe the water's running fine outside but there's a wet patch forming on the basement wall behind it. Any way you slice it, a busted hose bib is one of those repairs you can't put off.
Here's the thing: a lot of these failures were preventable. Midwest winters are brutal on standard outdoor faucets. Indianapolis averages around 29 days below freezing per year. Chicago sees around 39. That freeze-thaw cycle grinds on rubber washers, cracks fittings, and splits connections — and you won't know the damage is done until you turn the water back on in March.
This guide will walk you through what to look for, what to buy, whether to do it yourself or hire a plumber, and exactly what you're going to spend either way.
Signs Your Outdoor Hose Bib Needs to Be Replaced

Before you grab a wrench, you need to know what you're dealing with. Not every outdoor faucet problem is a replacement job — but some of them definitely are. Here's how to read the situation:
Drip from the Spout When the Faucet Is Off
This usually means a worn rubber washer at the end of the stem. Washers cost a dollar or two and can be swapped out without replacing the whole faucet. That said — if your faucet is more than 10 years old or is a standard (non-frost-free) model, don't bother. Just replace the whole thing. You'll spend the same amount of labor for a much bigger upgrade.
Worth noting: a faucet that drips once per second wastes more than 3,000 gallons of water per year (EPA). That's real money on your water bill, not just a nuisance.
Leak Around the Handle (Bonnet Leak)
Water seeping out around the handle usually means the packing inside the bonnet nut has worn out. Try tightening the bonnet nut first with a wrench. If that doesn't stop it, the packing needs to be replaced — or again, if it's an old standard faucet, just upgrade.
Leak at the Wall (Connection Leak)
Water leaking where the faucet meets the house is a red flag. This is almost always freeze damage to the fitting or the pipe connection just inside the wall. Don't try to patch it — replace the faucet and have someone check whether there's any damage to the pipe itself.
Interior Water Damage
This is the one that should stop you cold. If you see water staining, soft drywall, or moisture anywhere on the basement or crawl space wall behind your outdoor faucet, call a plumber. The pipe inside the wall may have already cracked, and repairs inside the wall cavity can run into the thousands if left unaddressed.
Just Replace It If:
- The faucet body has visible cracks
- It's a standard (non-frost-free) model — upgrade is worth the $50
- The handle spins freely without shutting off the water
- It's 15+ years old
- You're seeing any interior water staining
Frost-Free vs. Standard: The Only Upgrade That Matters in the Midwest

If your home still has standard outdoor faucets — the kind where the shutoff happens right at the exterior wall — you're playing with fire every winter. Here's why:
On a standard sillcock, the rubber washer that stops the water flow sits on the outside of the wall. That means water sits in the pipe right up to the exterior, fully exposed to freezing temperatures. When it freezes, it expands. When it expands inside a pipe or fitting, something breaks.
A frost-free (frost-proof) sillcock moves that shutoff point 6 to 24 inches inside the wall, into the warm interior of your home. When you turn the faucet off, the water drains out of the exposed exterior pipe — there's nothing left to freeze. That's it. That's the whole trick.
The best option is a frost-free anti-siphon sillcock, which adds a backflow prevention valve to stop contaminated water from being siphoned back into your home's supply lines. This is now a code requirement in most municipalities for exterior faucets. If you're replacing anything, this is what you're putting in.
Cost for the fixture itself? A basic model starts around $12. A quality brass anti-siphon model (like those from Prier Products) runs $25–$80 at any home center. That's cheap insurance against a $3,000–$5,000 water damage claim.
Sizing matters: Frost-free sillcocks come in stem lengths from 4 to 24 inches. If you're replacing an existing frost-free, match the length. If you're upgrading from a standard, measure the horizontal pipe run inside the wall and buy a stem slightly shorter than that distance so it doesn't hit any bends in the line.
DIY or Hire a Plumber? Here's the Honest Answer

Replacing a hose bib is one of those jobs that sits right on the line between "confident DIYer" and "call the plumber." Here's how to figure out which side you're on.
Do It Yourself If:
- You know where the interior shutoff valve for your outdoor faucet is (and it works)
- You're comfortable cutting copper or PEX pipe
- You can solder copper OR you're willing to use push-fit connectors (SharkBite style)
- There's no water damage visible inside the wall
- You're doing a straight swap — same location, similar pipe run
Call a Plumber If:
- There's no dedicated interior shutoff valve for the outdoor faucet (adding one is a code issue and a bigger job)
- Your home has galvanized steel pipes — common in older Indianapolis and Chicago homes — which require special handling when cutting and transitioning to copper or PEX
- You can see or smell moisture, mold, or water staining inside the wall
- You're installing a brand new outdoor faucet where there wasn't one before
- Multiple bibs need replacement at once and you want it done in one visit
The DIY Steps (Simplified)
- Locate and close the interior shutoff valve for that outdoor faucet. If there isn't one, shut off the main water supply.
- Open a lower faucet in the house to release pressure in the lines.
- Inside: cut the pipe a few inches back from the wall. Have a bucket ready — there will be residual water.
- Outside: remove the screws holding the old faucet and slide it out.
- Test-fit the new frost-free sillcock. Check that the stem clears the cut pipe with a little room to spare.
- Critical step: Before soldering, remove the faucet stem. Copper conducts heat straight to the rubber washer and will destroy it if it's left in place during soldering.
- Connect the new pipe section using a coupling (solder or push-fit).
- Apply exterior caulk around the wall penetration before pressing the faucet flange in.
- Drill pilot holes if mounting to concrete or brick (use a masonry bit); attach with concrete screws.
- Reinstall the stem, turn the water back on slowly, and check for leaks at every connection.
Not into soldering? Push-fit connectors (SharkBite or similar) work on both copper and PEX, require zero special tools, and are code-approved in most areas. They're a little easier to replace down the road too. For a DIY job, they're completely legitimate.
DIY Tools You'll Need
- Pipe/tube cutter (or hacksaw)
- Adjustable wrench and screwdrivers
- Caulk gun and exterior caulk
- Cordless drill + masonry bit (for brick or concrete)
- If soldering: propane torch, flux, lead-free solder
- If PEX: PEX crimping tool and rings (or just use push-fit connectors)
What Does It Actually Cost? Real Numbers for Indianapolis & Chicago

Let's talk money. No ranges so wide they're useless — here's what you're actually going to spend:
DIY Cost
- Frost-free anti-siphon sillcock: $25–$80
- Fittings, couplings, caulk: $10–$20
- Push-fit connectors (if not soldering): $8–$15 each
- Total DIY materials: approximately $35–$100
If you already have basic tools, that's your all-in cost for a simple replacement. Add a few hours of your Saturday morning.
Hiring a Plumber
- Simple replacement (existing faucet, existing shutoff valve): $100–$300
- New outdoor faucet with new shutoff valve and new line: $200–$500
- Indianapolis and Chicago labor rates tend toward the higher end of those ranges — expect union plumber rates in Chicago especially
For most straightforward swaps in the Indianapolis/Chicago market, budget $150–$250 all-in for a plumber visit. That's one to two hours of labor plus materials. Get two quotes if you can — prices vary more than they should for this kind of work.
What to Ask Before You Hire
- Are they installing a frost-free AND anti-siphon model? (If they're putting in a standard faucet, that's the wrong answer.)
- Will they add a dedicated interior shutoff valve if one doesn't exist?
- Is a permit required? (Usually no for a simple swap; sometimes yes for new installations in certain municipalities.)
- Do they warranty the labor?
Spring Inspection Checklist: Do This Before You Hook Up the Hose

Before you connect the garden hose and forget about it until fall, run through this quick checklist. It takes 10 minutes and can save you from a nasty surprise:
- Turn on the interior shutoff valve slowly. Sudden pressure changes can stress a damaged fitting.
- Inspect the spigot outside — look for drips at the spout, around the handle, and where the faucet meets the wall.
- Check inside the house — go to the basement or crawl space and look at the wall directly behind the outdoor faucet for any moisture, staining, or soft spots.
- Test the anti-siphon valve. After turning the faucet off, you may hear a brief drip or hiss as the vent port opens and air enters the pipe — that's it working correctly. If it drips continuously after shutoff, the valve may be stuck or failed.
- Check your hose washers while you're at it — they're $2 and worth swapping if they're flattened or cracked.
- Label your shutoff valves in the basement if you haven't already. You'll thank yourself in October when you're winterizing.
Don't Forget: Winterization Is What Prevents This Whole Mess
If you're replacing a faucet this spring because of freeze damage, here's how to make sure you're not doing it again next spring:
- Shut off the interior supply valve to each outdoor faucet in late October, before the first hard freeze. For Indianapolis, that's typically late October. Chicago, same or earlier.
- Disconnect all garden hoses before winter. This is the most overlooked step. Even a frost-free faucet can freeze if a hose is left connected — the hose traps water in the stem and defeats the frost-free design entirely.
- If your outdoor faucet runs an underground line to a remote location (like a backyard post faucet), consider a blow-out valve — a small ball valve in a gravel pit below grade that lets you purge the line with compressed air before winter.
Frequently Asked Questions
How long does it take to replace an outdoor hose bib?
For a DIYer doing a straight swap with push-fit connectors: 1–2 hours including shutting off the water and cleanup. For a plumber: typically 30–60 minutes once they're on-site. Budget extra time if you're dealing with galvanized pipe or adding a new shutoff valve.
Do I need a permit to replace a hose bib in Indianapolis or Chicago?
For a like-for-like replacement (same location, same pipe), most municipalities don't require a permit. Adding a new outdoor faucet where one didn't exist — especially if it involves a new shutoff valve — may require one. When in doubt, call your local building department or ask your plumber.
What's the difference between a hose bib, spigot, and sillcock?
They're all the same thing — just different names for your outdoor faucet. "Sillcock" is the more technical term that specifically refers to the fitting that passes through the exterior wall. Use whichever word you want at the hardware store; they'll know what you mean.
My outdoor faucet drips only when I first turn it on in spring. Is that normal?
Not really. A brief drip as pressure stabilizes can be normal, but if it persists for more than a few seconds or you see dripping after the faucet is fully turned off, that's a worn washer or damaged valve — address it before it gets worse.
Can I replace a hose bib in winter?
Technically yes, but it's harder. You'll need to work faster to avoid refreezing issues, and soldering in a cold basement isn't fun. Spring or fall — when temps are moderate — is the better call.
My water pressure seems low at the outdoor faucet. Is that related?
Could be. A partially clogged or damaged valve inside the faucet can restrict flow. If the indoor pressure is fine but the outdoor faucet is weak, the faucet itself is likely the problem. A replacement should fix it.

Bottom Line: Don't Skip This One
A $50 frost-free spigot and an afternoon of work can save you from a $3,000 water damage repair bill. That math isn't hard. If your outdoor faucets survived another Midwest winter without obvious damage, do a proper inspection before you assume everything's fine. If you find a problem — or if you're still running standard (non-frost-free) faucets — this is the spring to fix it.
DIYers with basic plumbing confidence can knock this out for under $100 in materials. If you'd rather have a pro handle it, budget $150–$250 for a simple swap and make sure they're putting in a frost-free anti-siphon model. Anything less is the wrong answer for Indianapolis or Chicago.
One last thing: disconnect your hoses before the first freeze this fall. Seriously. Write it on your calendar right now. It's the single most effective thing you can do to protect your outdoor plumbing, and it costs absolutely nothing.
Need help finding a qualified plumber in Indianapolis or the Chicago area? Browse our vetted local contractor directory — we only list pros who show up, do the work right, and don't overcharge for a simple spigot swap.
Find Trusted Pros Near You
Ready to start your project? Connect with vetted, top-rated contractors in your area.
Get Started