Your Siding Took a Hit This Winter: How to Inspect, Repair, and Protect It Before the Rains Come
Winter just packed up and left — and it didn't leave your house the way it found it. If you're in Indianapolis or Chicago, your siding just spent four months getting hammered by freeze-thaw cycles, wind-driven ice, and temperature swings that would make a welder wince. Here's the part most homeowners skip: nearly 69% of Midwest homes use vinyl siding — the highest regional rate in the country (NAHB/Census SOC 2024) — and vinyl becomes brittle below 20°F. That means right now, there's a decent chance something on your exterior cracked, separated, or started letting water in, and you don't know it yet. A timely spring repair runs $300–$1,500. A full replacement? That's $8,000–$30,000. The math isn't complicated. Get outside, take a hard look, and deal with it before the April rains turn a $500 problem into a $15,000 wall repair.
Why Midwest Winters Are So Brutal on Siding

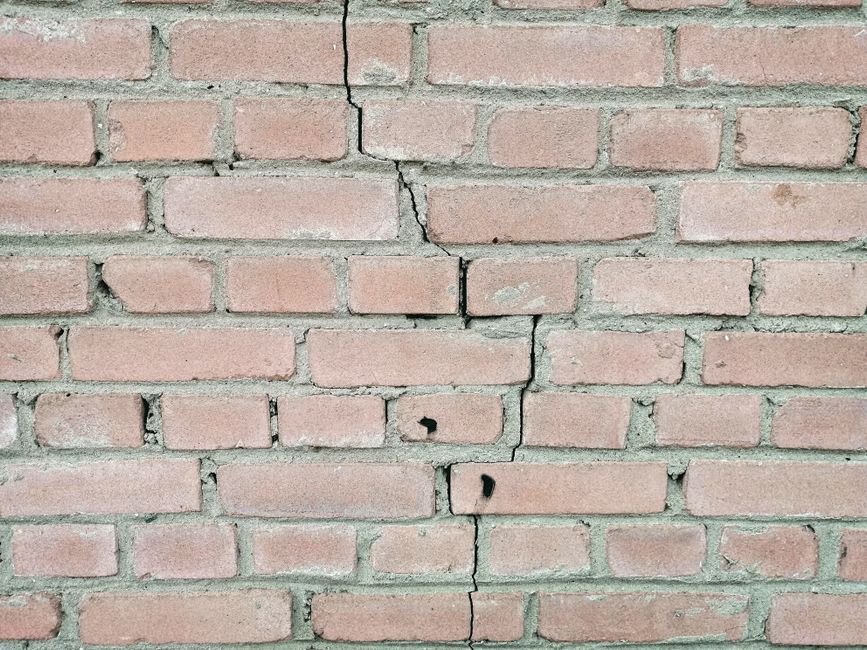
Every freeze-thaw cycle pushes water a little deeper into every crack. By March, the damage is done — you just haven't found it yet.
It's not just the cold. It's the cycle. Water gets into a tiny crack — maybe one you've had for a year and ignored. It freezes. Water expands about 9% when it freezes, so that tiny crack gets wider. Then it thaws. Then it freezes again. Repeat that across a full Midwest winter — it happens more times than most homeowners realize — and what started as a hairline is now a gap you could slide a credit card through. That's the freeze-thaw cycle, and it's relentless.
In the Chicagoland area, temperature swings of 25–40°F in a single 24-hour period are common (DNS Exterior, Lockport IL). In northwest Indiana near the Chicago suburbs, the full seasonal range can hit -40°F to +40°F across winter (OneSource Construction). Your siding is expanding and contracting every single day. If the fasteners were overdriven during installation — meaning the panels can't slide freely — that constant movement creates internal stress fractures. The panels don't pop. They just quietly crack from the inside out.
Wind-driven moisture is the other killer. It gets in at seams, corner posts, window and door frames — anywhere caulk has cracked or gone missing. Once moisture is behind the siding, you've got a wall problem, not just a siding problem.
The Ice Dam Mistake Most Homeowners Make
Here's one most people get wrong: if you had ice dams this winter, your siding might be damaged even if your roof looks fine. As ice dams build up at the eaves, water backs up behind the upper courses of siding — not just under the shingles. That water freezes inside the wall cavity and pushes outward. The result is bulging, bubbling, or panel separation below the roofline. Homeowners see it and assume it's a roof issue. It's not. It's a siding-and-wall issue, and if it sat all winter, it needs to be addressed now (OneSource Construction).
Your Post-Winter Siding Inspection Checklist

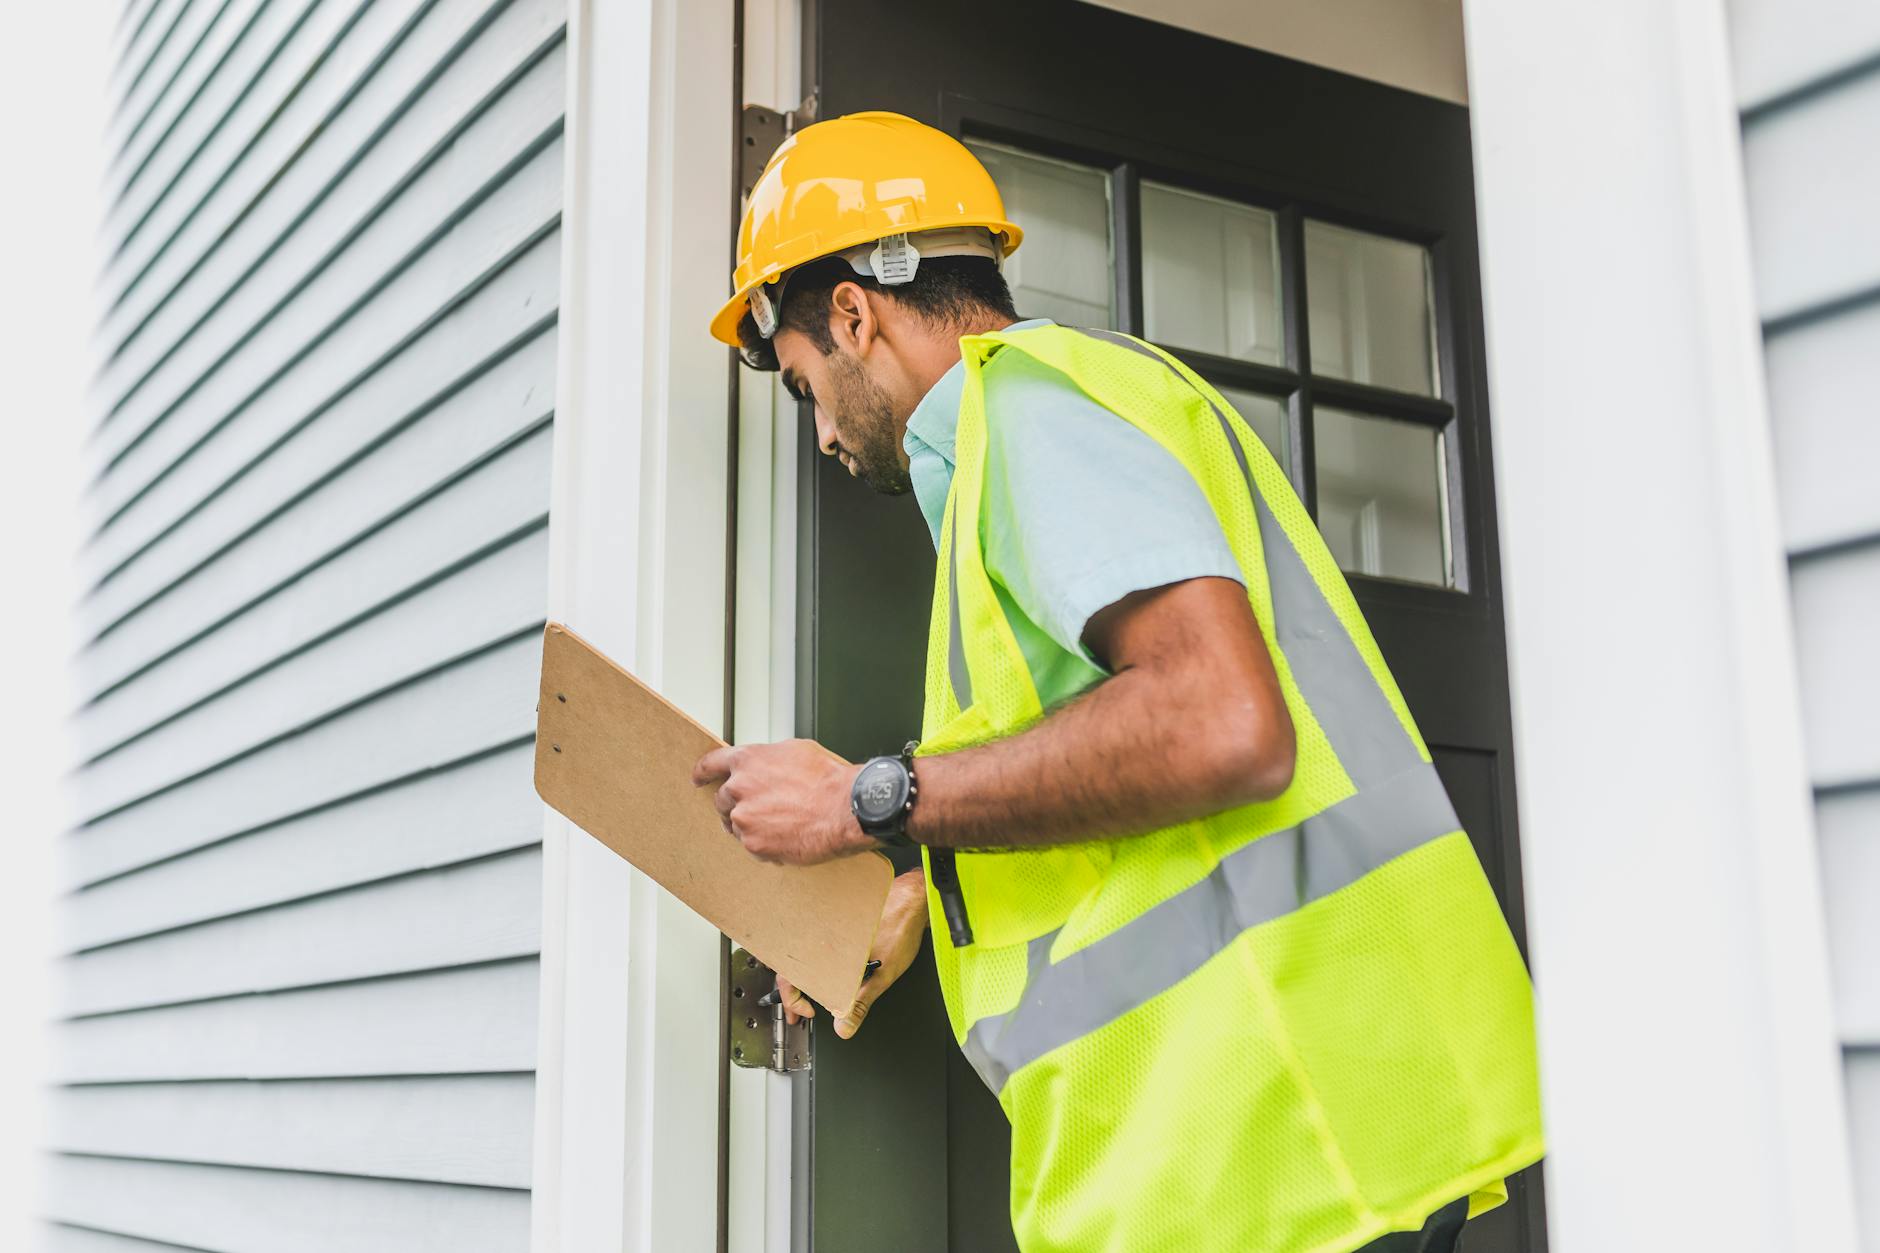
Walk the perimeter. Be methodical. North-facing walls take the most abuse.
Do this yourself. Walk the entire perimeter of the house on a dry day. You're looking for anything that's cracked, soft, wet, warped, or missing. Bring a flathead screwdriver — you'll need it. Here's what to check:
Surface Damage
- Cracks along panel edges, especially near nail slots
- Chips, holes, or dents
- Bowing or buckling panels
- Panels pulling away at corners
- Missing or blown-off panels
- Warping, rippling, or uneven alignment
Moisture and Rot
- Soft, spongy spots when you press firmly (use that screwdriver)
- Mold, mildew, or moss growth
- Water stains on the siding surface or around trim
- Peeling paint on trim boards
- Musty smell near walls on a warm day
Caulking and Seals
- Cracked or missing caulk at window and door frames
- Gaps at vertical seams, corner posts, or J-channels
- Flashing separated at roof-to-wall transitions
- Gaps around utility penetrations (pipes, vents, electrical)
Bottom Edge
- Is the bottom panel row still locked in and secure?
- Are panels touching or close to the soil? Fiber cement requires at least 6 inches above grade; vinyl should clear the ground by at least 1–2 inches
- Any signs of splashback erosion at the base of the wall
Interior Clues
- Cold drafts near exterior walls that weren't there before
- Unexplained jump in your heating or cooling bills
- Water stains on interior drywall after heavy rain
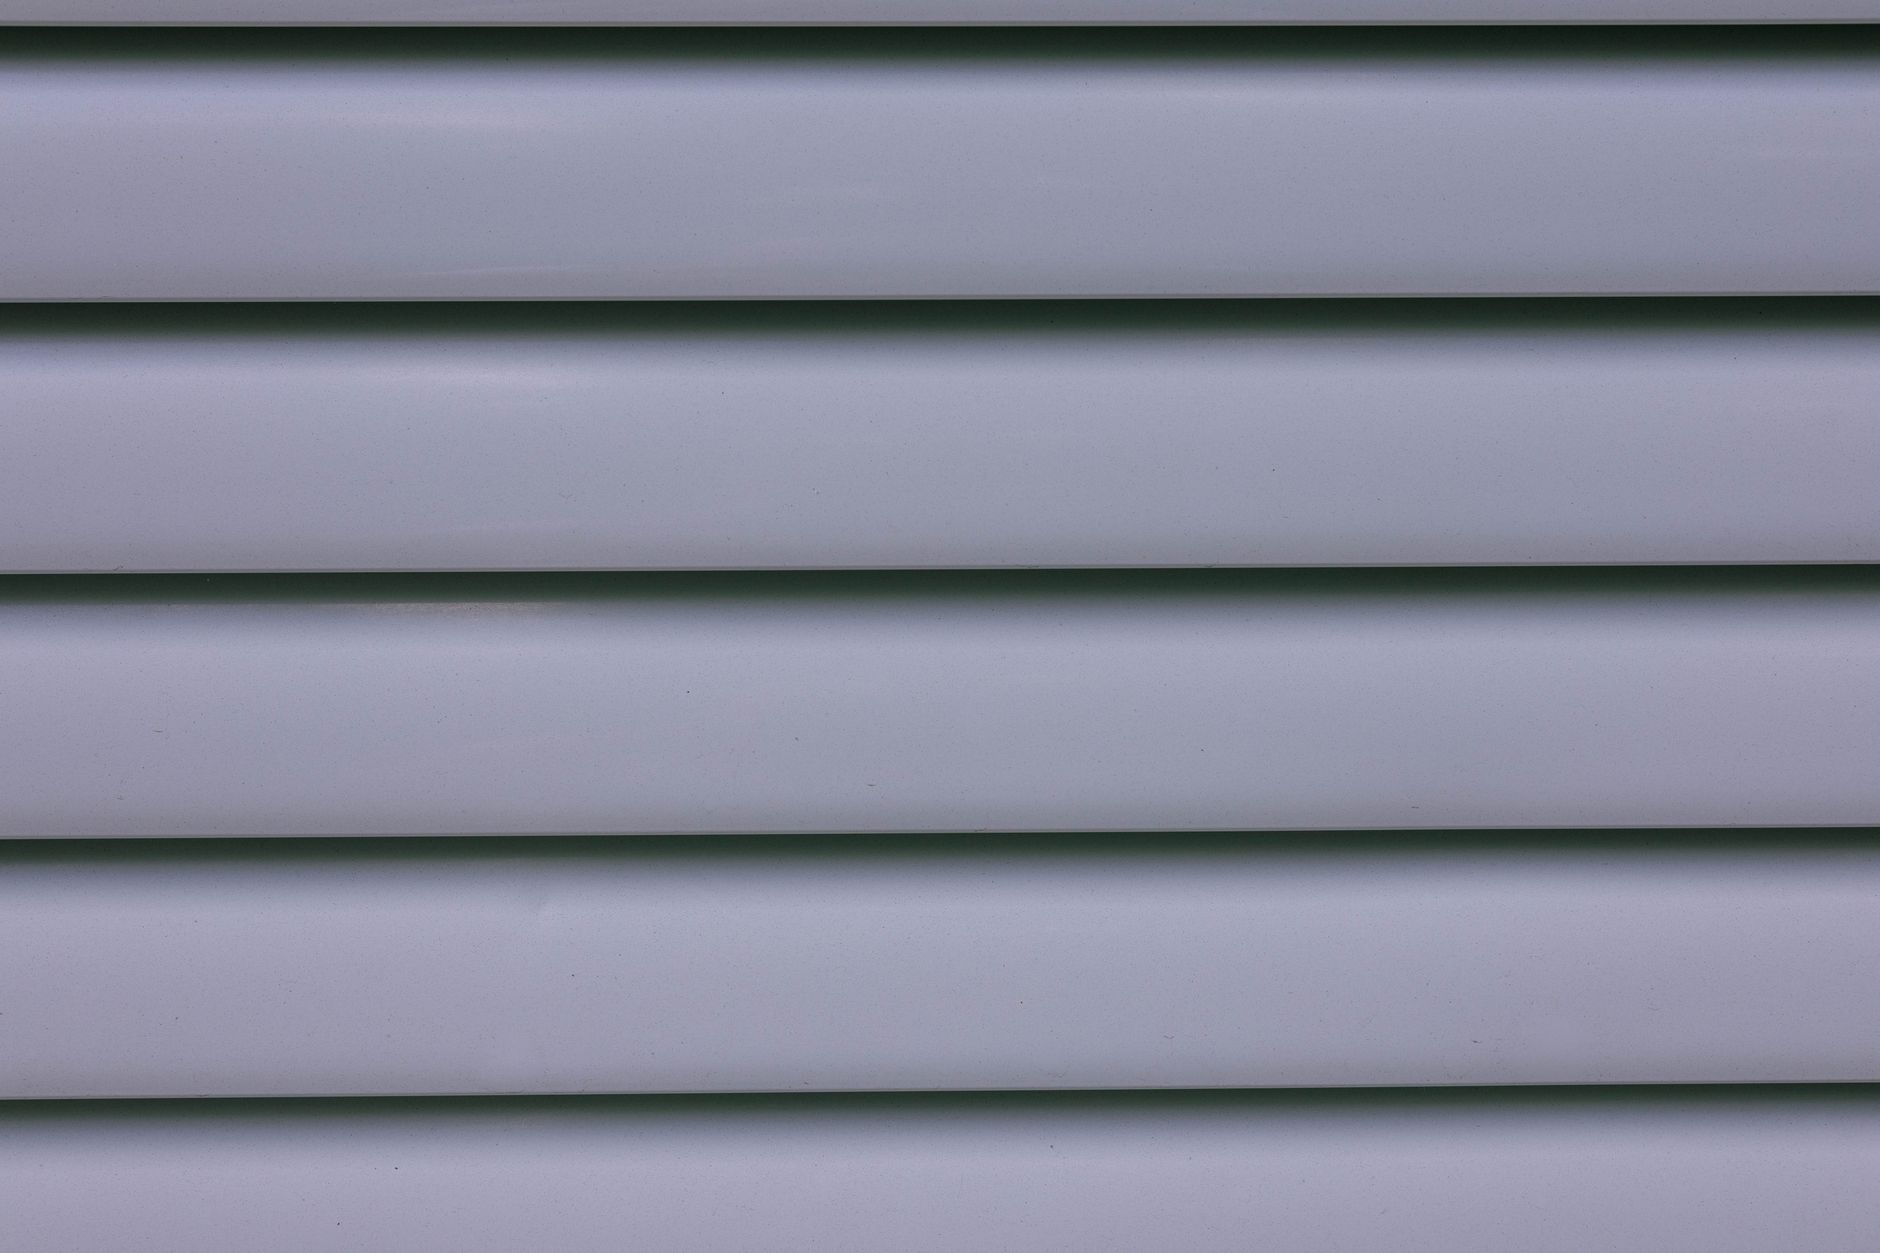
Pro tip: For wood and fiber cement panels, press your screwdriver firmly against the surface. Firm resistance = you're fine. Spongy give = rot, and rot doesn't stay where you find it. For vinyl, look for a subtle "wave" or curve between fasteners — that's the early sign of buckling, and it only gets worse.
Material Matters: Vinyl, Wood, and Fiber Cement in a Midwest Winter
Vinyl, wood, and fiber cement all fail differently in a Midwest winter. Knowing which is on your house changes what you look for.
Not all siding fails the same way. What you're looking for — and what you can do about it — depends on what's actually on your house.
Vinyl Siding
It's on 69% of Midwest homes, and it's got one main enemy: cold. Below 20°F, vinyl gets brittle. A rock kicked up by a snowblower, a chunk of wind-driven ice, a branch — any of that can crack a panel that would have bounced right off in September. The other failure mode is thermal restriction: if the fasteners were driven too tight during installation, the panels can't slide when they contract, and the stress fractures them from the inside.
A single cracked panel is a DIY fix — about 15 minutes with a $10 zip tool. The hard part is color matching, especially on older siding. If you've got multiple panels cracking in the same spot every winter, chalky faded surfaces across the whole house, or siding that's more than 20 years old and never been looked at properly, you're past the patch-it stage. Start thinking replacement.
Wood Siding
Wood siding fails via rot — that's the big one. Splitting, cupping, and paint failure follow close behind. Late winter also brings woodpecker damage; they're more active this time of year and they love soft, rotting wood (which makes existing problems worse). Use the screwdriver test everywhere: soft = rot. Sound = you're okay for now.
If your Indianapolis or Chicago home has 30-plus-year-old wood siding that's never been upgraded, it's probably approaching the end of its useful life. A fiber cement upgrade is worth a serious look at that point — better performance, much longer lifespan, and an ROI of 88.4% at resale (Remodeling Magazine 2024 Cost vs. Value Report).
Fiber Cement (James Hardie HardiePlank)
This is the best performer in Midwest conditions. It doesn't absorb moisture like wood, and it doesn't flex and crack under thermal stress like vinyl. James Hardie's HZ5® product line is specifically engineered for the Indiana and Illinois climate zone — cold winters, wet springs, the whole package. The panels are dimensionally stable, meaning they don't expand and contract the way vinyl does.
If your fiber cement siding has a winter problem, it's almost always caulk failure at the joints — not the product itself. Check every seam. Fiber cement also has strict clearance requirements: 6 inches above grade, 2 inches above roof flashings. If those gaps have closed over the years (soil settling, landscaping changes), you've got a moisture pathway.
Fiber cement costs more — $9–$14 per square foot installed in Chicago versus $6–$11 for vinyl — but the lifespan is 50-plus years compared to 20–40 for vinyl, and the resale ROI is better. If you're replacing siding on a house you plan to stay in or sell in the next decade, the math works out.
DIY Fixes vs. When to Call a Pro
Let's be straight with you: some of this you can handle yourself. Some of it you absolutely cannot. Knowing the difference saves you money and keeps you from making a small problem into a catastrophic one.
Handle It Yourself
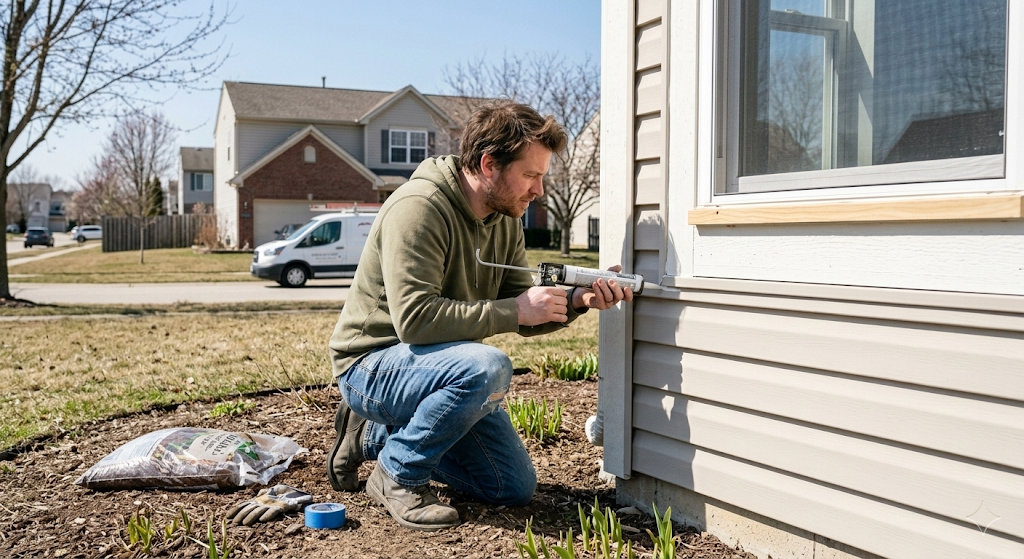
- Re-caulking gaps at windows, doors, and seams — $10–$30 in materials, couple of hours of your time
- Replacing a single cracked vinyl panel — about 15 minutes with a zip tool, costs almost nothing
- Sealing small holes with color-matched vinyl caulk
- Cleaning mold or mildew from the surface with diluted bleach solution
- Re-engaging a loose bottom panel that's popped out of its track
Call a Pro
- Any wood rot — it spreads, and you can't see how far it's gone without opening the wall
- Three or more buckling vinyl panels in the same area — that's a fastening or moisture problem, not just surface damage
- Anything soft, wet, or moldy behind the siding — spongy panels, interior water stains after rain, musty odor on warm days
- Homes built before 1980 — possible asbestos in siding or wall materials; average testing runs about $482, and you don't skip this
- Fiber cement installation or replacement — DIY installation typically voids manufacturer warranty coverage — James Hardie requires certified professional installation for full warranty protection
- Ice dam-related wall damage — if water froze inside your wall cavity, a contractor needs to assess the extent
- Mold remediation behind siding — this runs $1,150–$3,400 and requires proper containment
Rule of thumb: If damage affects more than two panels, or you see or smell anything soft, wet, or moldy behind the surface — call a pro. Hidden damage is always worse than what you can see from outside. Always.
What Siding Repair Actually Costs in Indianapolis and Chicago

Get at least three written quotes. Costs vary — and the cheapest bid isn't always the smart one.
Here's what you're looking at in real numbers. Indianapolis typically runs 10–15% below Chicago on labor costs, so use these as ranges, not quotes.
Repair Costs
- Filling cracks and holes: $2–$4 per square foot
- Paint touch-up on repaired areas: $1–$4 per square foot
- Replacing damaged boards: $7.50–$15 per square foot
- Dry rot repair: $100–$2,000 depending on how far it's spread
- Mold remediation behind siding: $1,150–$3,400 total
Repair Cost by Material
- Vinyl: $4–$12 per square foot
- Wood: $5–$15 per square foot
- Fiber cement: $6–$15 per square foot
- Siding specialist labor: $40–$60 per hour
Full Replacement Costs (Chicago Market)
- Vinyl: $12,000–$20,000
- Fiber cement: $18,000–$26,000
- Engineered wood: $16,000–$24,000
Indianapolis homeowners: knock 10–15% off those Chicago numbers for a rough local estimate. Either way, the gap between a spring repair and a full replacement is enormous. The window to act cheap is right now, before the rains hit.
How to Choose a Siding Contractor (and Red Flags to Watch)
The right contractor explains the scope, puts it in writing, and doesn't pressure you. Any deviation from that is a red flag.
After a rough winter, the storm chasers show up. Vans with out-of-state plates, door-to-door sales pitches, deals that expire today. Here's how to find a legitimate contractor and how to spot the ones you need to walk away from.
Questions to Ask Every Contractor
- Are you licensed and insured in Indiana or Illinois?
- Do you carry workers' compensation coverage?
- Are you bonded?
- How many years of siding-specific experience do you have?
- What brands do you install? Are you a certified installer?
- Is a permit required for this job, and will you pull it?
- Can you provide recent references in this area?
- Will I get a written contract before work starts?
- What does your warranty cover — both labor and materials?
Red Flags — Walk Away
- No local address. Storm chasers follow damage maps. When the job's done, they're gone.
- Large upfront cash payment required. Legitimate contractors don't demand cash deposits this size.
- No insurance documentation. If they can't hand you a certificate of insurance, don't let them touch your house.
- No recent local references. Ask for three. Call them.
- Verbal-only agreements. If it's not in writing, it didn't happen.
- "Deal expires today" pressure. Good contractors have full schedules and don't need to rush you.
- Recommends full replacement when repair is sufficient. This is a red flag and a money grab.
A good contractor will assess your situation honestly, tell you what actually needs to be done, and put it all in writing. That's the baseline. Don't accept less.

A vetted local contractor in Indianapolis or Chicago — ready to assess your siding before the spring rains hit.
Get Connected With a Local Siding Contractor Before Spring Rains Hit
A well-maintained exterior protects your investment — and the window to act cheaply is right now, before spring rains arrive.
You don't have to sort through storm chasers and sketchy reviews hoping to land on someone trustworthy. SAORR connects Indianapolis and Chicago homeowners directly with local, vetted siding contractors who know Midwest winters. These aren't out-of-town crews chasing the post-storm rush — they're contractors who work in your market, understand your climate, and stand behind their work.
Get your free assessment before the spring rains arrive. Damage that's a $500 fix today can become a $15,000 wall repair by summer. The math is simple. The window is short.
Don't wait for the next rainstorm to show you what you missed. Get connected with a vetted local contractor through SAORR — and get it handled while the fix is still affordable.
Find Trusted Pros Near You
Ready to start your project? Connect with vetted, top-rated contractors in your area.
Get Started